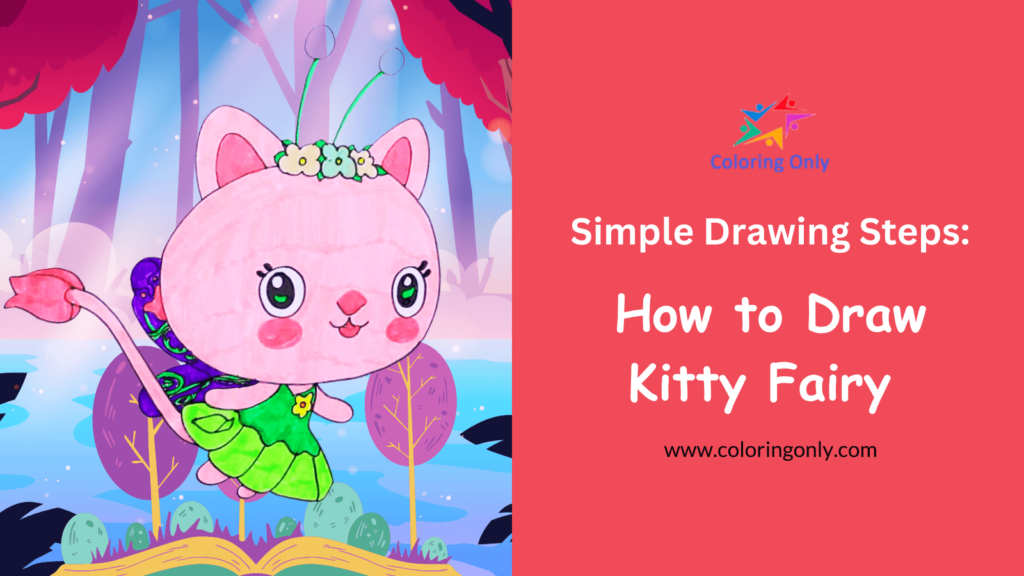
Are you ready to bring a magical and adorable creature to life on paper? Follow these simple steps to learn how to draw a Kitty Fairy. This step-by-step guide will help you create a charming artwork that captures the essence of this delightful character. So grab your coloring materials, prepare your pencil, and let’s get started!
💡 It’s Trivia Time
Before we move forward, here’s our trivia snippet about:
| Kitty Fairy is a character from the animated series Gabby’s Dollhouse. | She is a pink half-kitty/half-fairy Gabby Cat with clear, pink and green wings. |
| She has a pair of wishberry blossom-like antennae, a green flower-like dress, and a flower crown. | Kitty Fairy makes garden magic with her tail or her watering can. |
🎨 Materials Needed
- Paper
- Pencil
- Eraser
- Coloring materials (crayons, colored pencils, markers, etc.)
Step 1: Drawing the Flowers
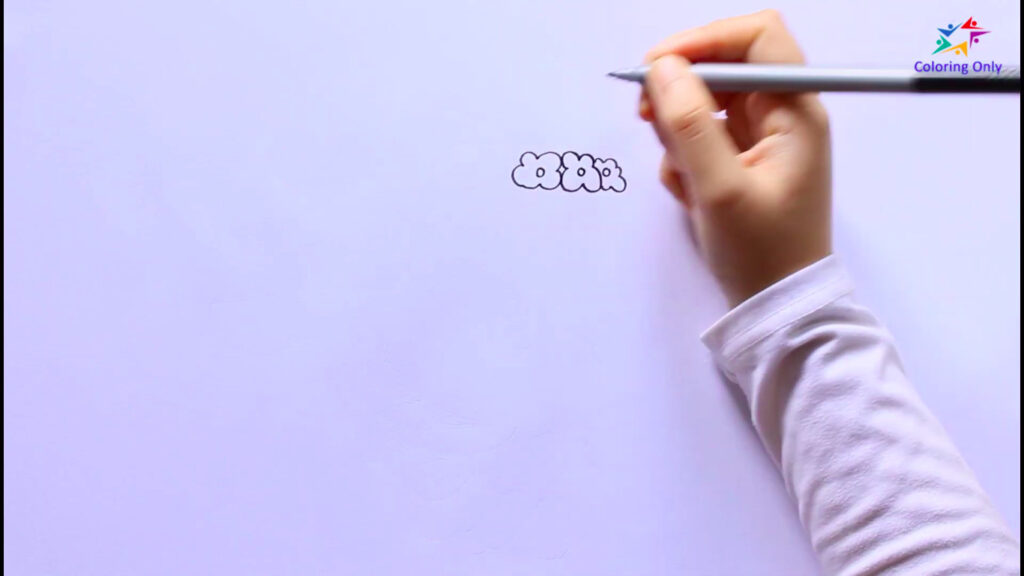
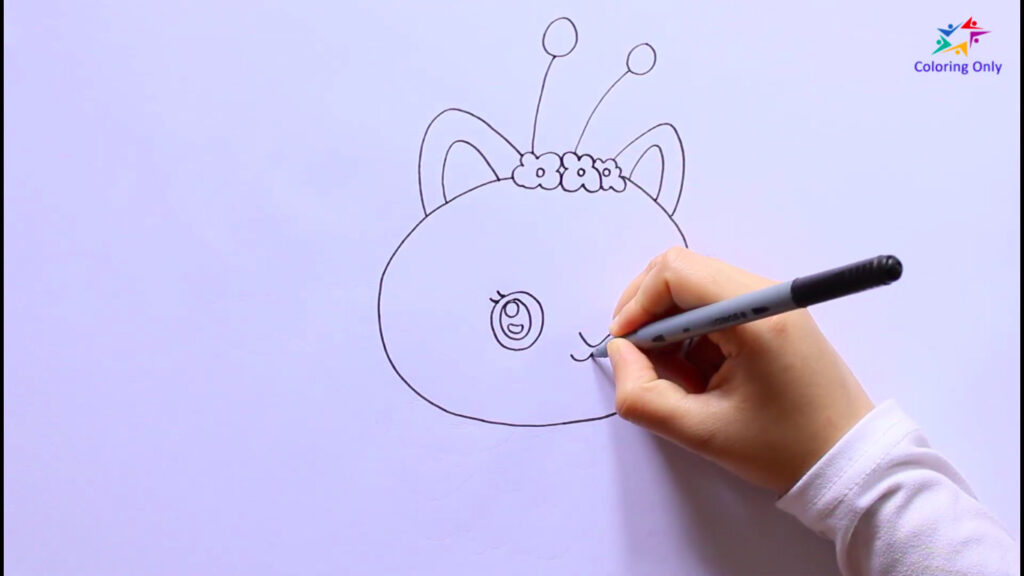
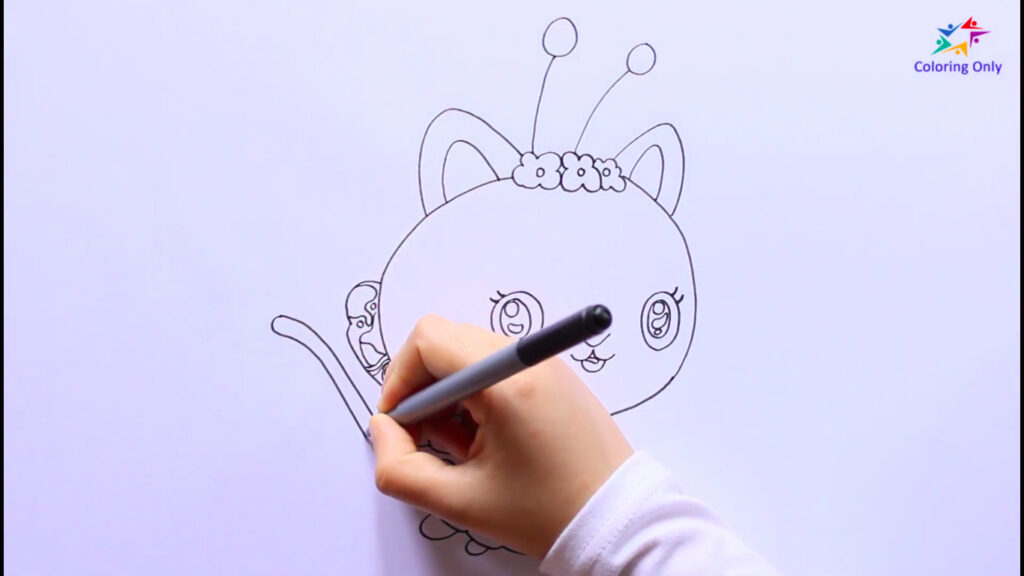
Start by drawing the flowers on the top of Kitty Fairy’s head. These flowers add a touch of whimsy to her appearance and serve as a lovely adornment.
Step 2: Sketching Kitty’s Ears and Deely Boppers
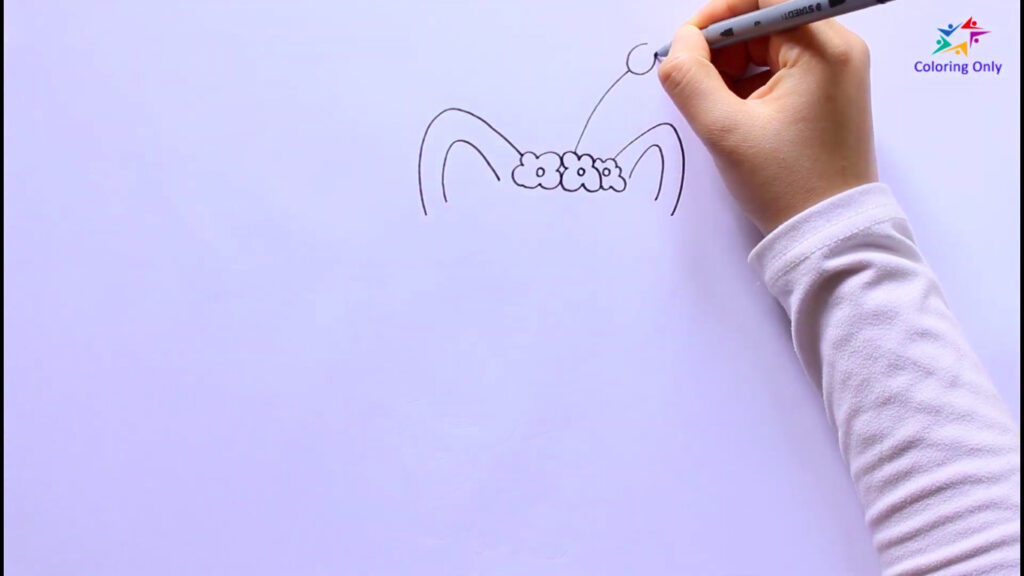
Next, draw Kitty’s ears and the deely boppers, which are the little antennae with fluffy balls at the ends. These unique features give Kitty Fairy her playful and enchanting look.
Step 3: Outlining the Face
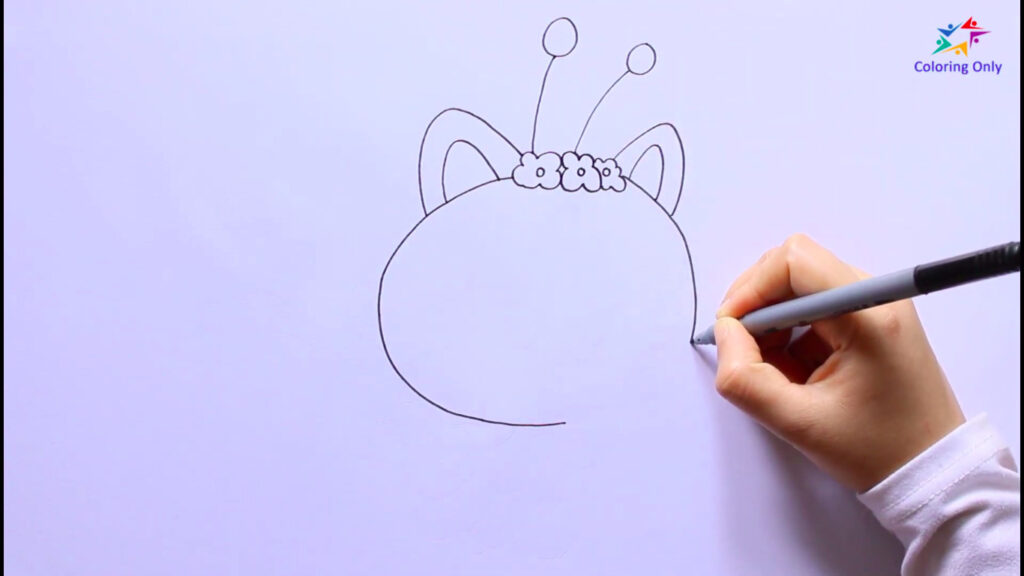
Draw a circle as the outline of Kitty Fairy’s face. This circle will serve as a guide for placing her facial features accurately.
Step 4: Adding the Eyes
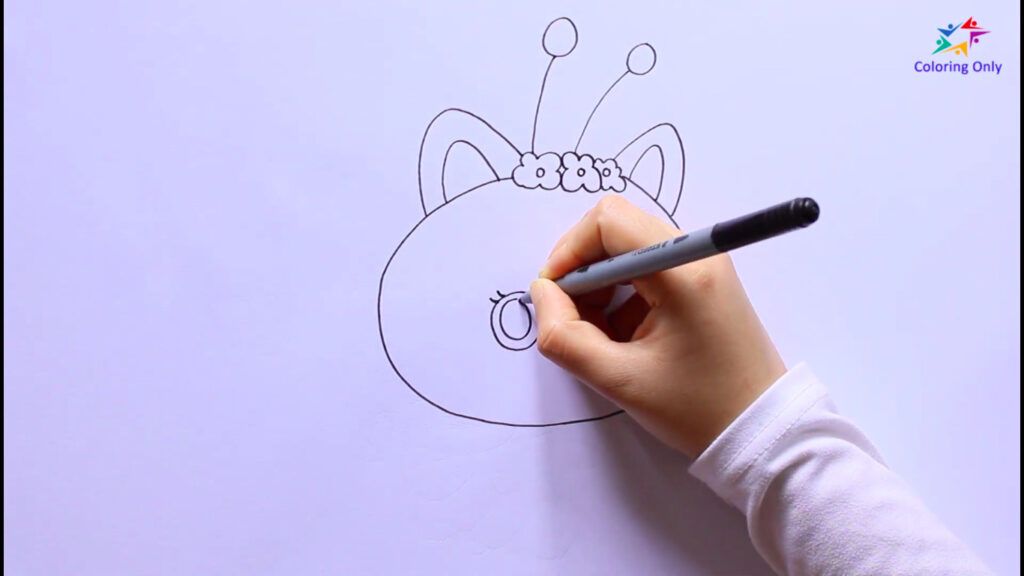
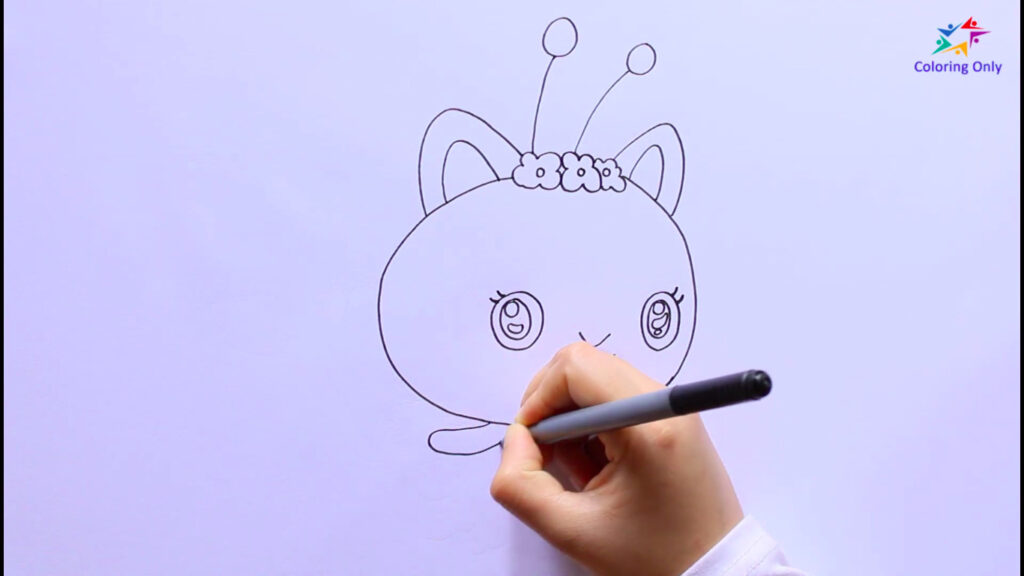
Now, it’s time to bring Kitty Fairy’s eyes to life. Draw two eyes, and add two visible eyelashes on each eye to give her a cute and innocent expression.
Step 5: Drawing the Nose and Mouth
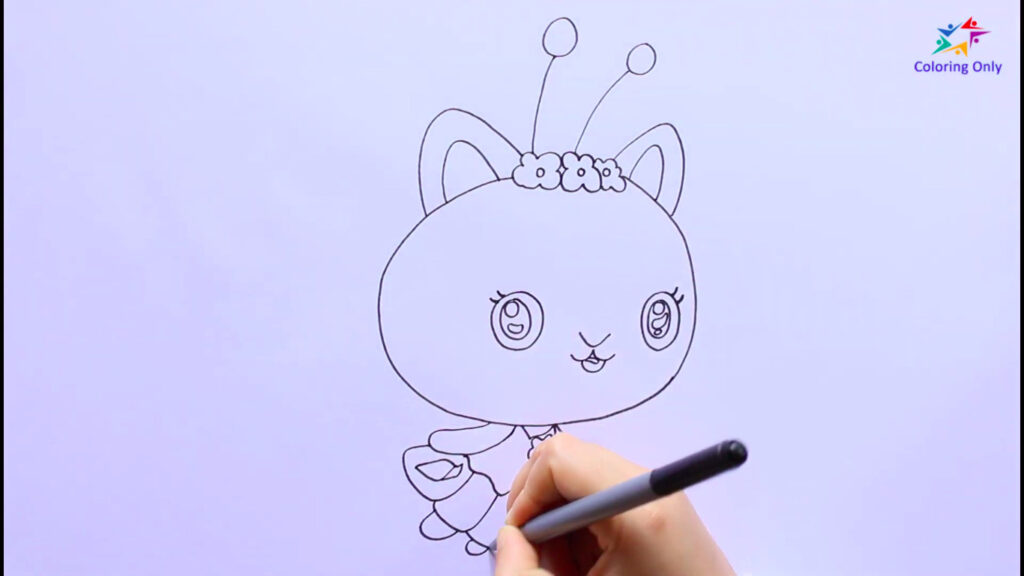
Complete Kitty Fairy’s facial features by adding a small, simple nose and a gentle smile as her mouth. This adds to her friendly and approachable appearance.
Step 6: Sketching the Hands
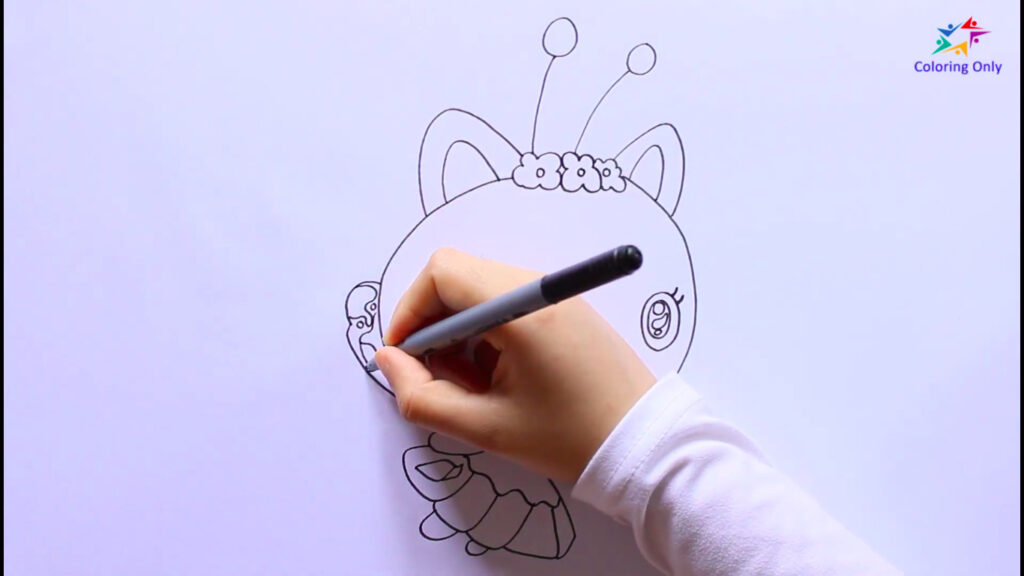
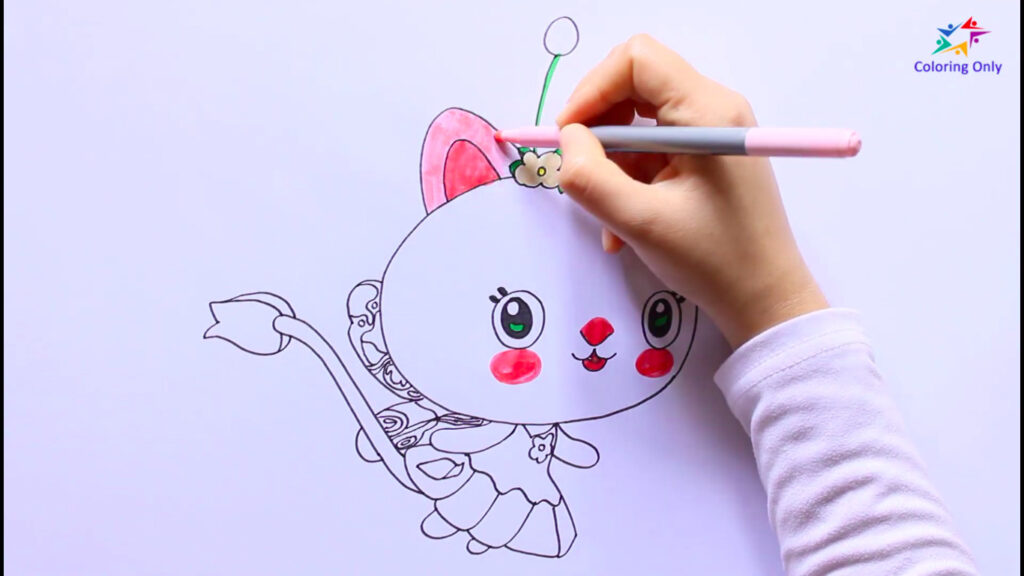
Draw Kitty Fairy’s hands, giving her a pose that showcases her graceful and delicate nature. You can choose to position the hands in a way that complements her whimsical personality.
Step 7: Creating the Skirt and Feet
Next, draw a skirt that resembles a flower, giving Kitty Fairy an enchanting attire. Also, draw her small feet, adding a touch of charm to her overall appearance.
Step 8: Adding the Wings
No Kitty Fairy would be complete without her wings. Draw a pair of wings behind her, extending gracefully from her back. These wings symbolize her magical and ethereal nature.
Step 9: Drawing the Tail
To add the finishing touch, draw Kitty Fairy’s tail. The tail should be slender and elegant, matching her graceful demeanor.
Step 10: Coloring Your Drawing
It’s time to color your Kitty Fairy! Let your creativity shine as you choose colors that perfectly represent her magical nature. Use various coloring materials to bring her to life with bright and vibrant colors.
When you complete these steps, you will have a delightful drawing of Kitty Fairy that shows her captivating charm. Remember, practicing helps you get better, so don’t be afraid to try new things and add your own unique style to make your artwork truly outstanding.
Learning to draw a Kitty Fairy lets you unleash your imagination and create charming art. Whether you’re a beginner or an experienced artist, this step-by-step guide provides a simple and enjoyable process to bring this adorable character to life. So, grab your pencil, let your creativity flow, and embark on a magical artistic journey!
As you draw, you can use our video tutorial: How to Draw Kitty Fairy. You may also download the Kitty Fairy coloring page from our website so you can directly color it together with us! Download the printable coloring page here: Gabby’s Dollhouse Coloring Page

