The story of Moses and the burning bush is a powerful and iconic moment from Biblical history. If you’re inspired to capture this scene through art, we’ll show you how to draw Moses and the burning bush, bringing this significant event to life on paper. Whether you’re a beginner or an experienced artist, this tutorial is designed to be easy to follow and enjoyable.
💡 It’s Trivia Time!
As a brief interlude, here’s our trivia related to Moses:
| The story of Moses and the burning bush can be found in the Book of Exodus, specifically in Exodus 3:1-17. | The burning bush is often interpreted as a symbol of God’s presence and a representation of the divine speaking to Moses. |
| Moses is considered one of the most important prophets and leaders in Judaism, Christianity, and Islam | The burning bush is said to have been on Mount Horeb, also known as Mount Sinai, which later became the site of Moses receiving the Ten Commandments. |
🎨 Materials Needed
To begin your artistic journey, gather the following materials:
- Blank paper
- Pencil
- Eraser
- Fine-tip black marker or pen
- Coloring materials (colored pencils, markers, or crayons)
Step 1: Head of Moses and Facial Features
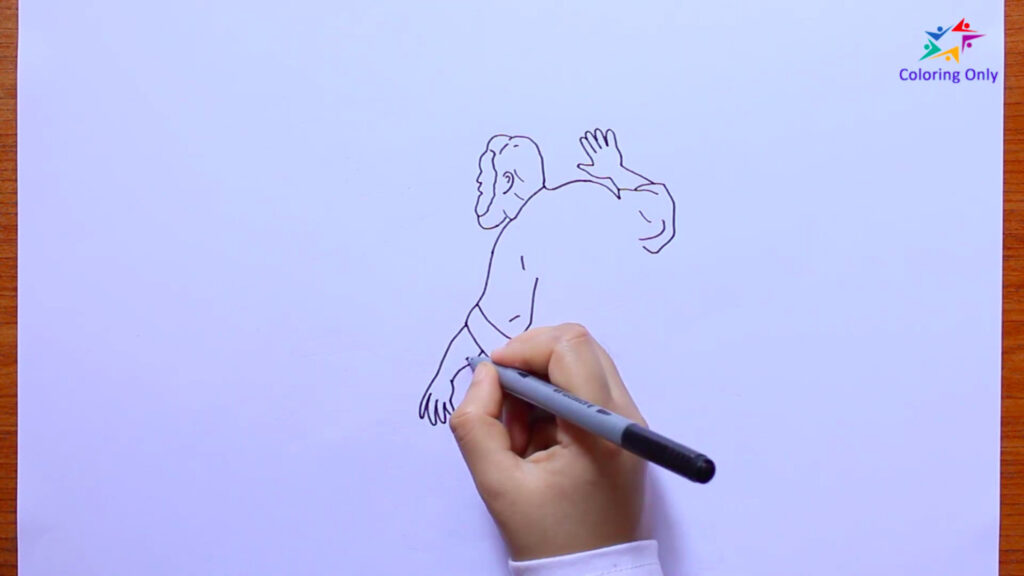
Start by drawing the head of Moses, including his facial features and beard. Pay attention to the shape of the face and the character’s expression, capturing his curiosity and awe.
Step 2: Arms and Hands
Next, draw Moses’ arms and hands, depicting his gestures of curiosity and wonder. Take your time to ensure the proportions and positioning are accurate.
Step 3: Long Garment and Details
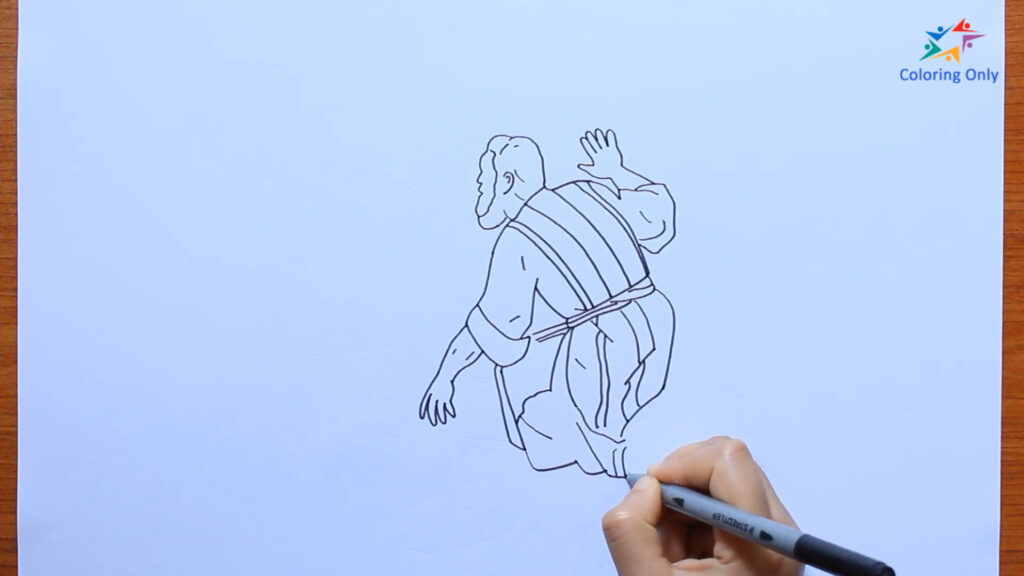
Focus on drawing Moses’ long garment. Add wrinkles and folds to give it a realistic appearance. Pay attention to the details and take your time to bring out the texture of the fabric.
Step 4: Feet and Ground Details
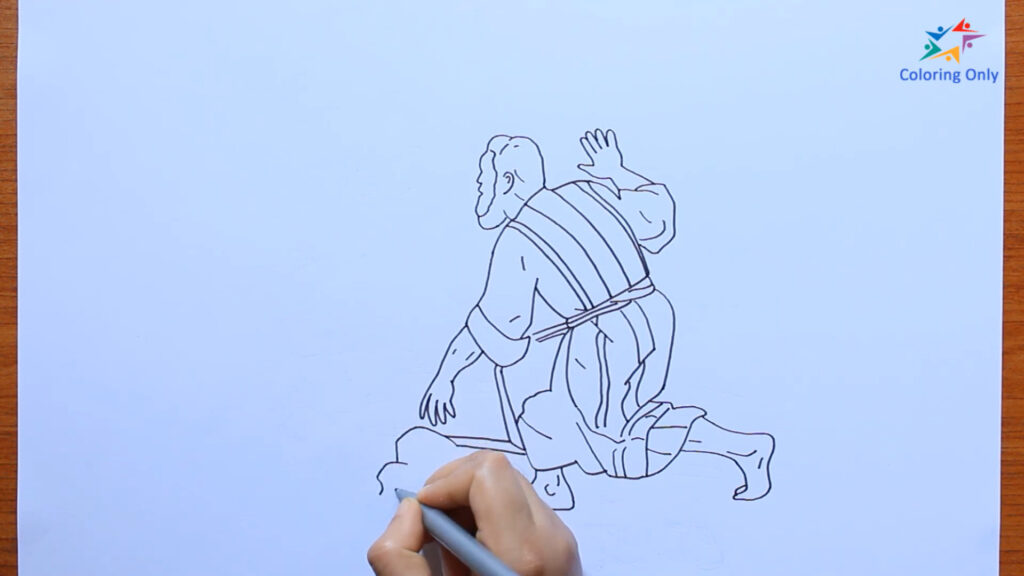
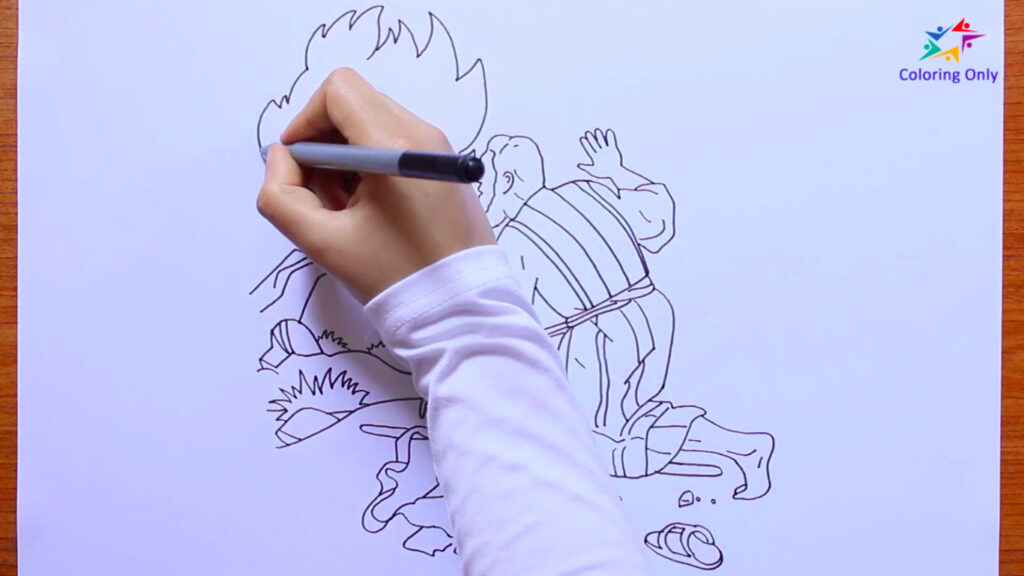
Draw Moses’ feet, indicating that he is kneeling down while observing the burning bush. Include his sandals on the ground, showing that they are not being worn. Additionally, add small rocks and grass details to enhance the ground where Moses is standing.
Step 5: The Burning Bush
Draw the burning bush. Begin by sketching its shape and then gradually add the fire-like details. Take your time to create a sense of movement and intensity in the flames.
Step 6: Color Your Drawing
It’s time to add color to your artwork. Use your preferred coloring materials to bring the scene to life. You can use warm tones for the flames of the burning bush and earthy colors for Moses’ garments and the surroundings. Let your creativity guide you as you add depth and vibrancy to your drawing.
You’ve successfully depicted the profound encounter of Moses and the burning bush, capturing the essence of this significant moment in history. Remember, every artist has their unique style, so just enjoy the process and let your creativity shine.
You can use this video tutorial: How To Draw Moses and The Burning Bush as a helpful visual reference to assist you throughout the drawing process. You may also download the Moses and The Burning Bush coloring page from our website so you can directly color it together with us! Download the printable coloring page here: Moses and the Burning Bush Coloring Page

