If you’re on the lookout for a fresh and imaginative way to jazz up your coloring pages, and you’re enchanted by the warmth of Christmas lights, you’re in for a treat! In this blog post, we’ll walk you through the delightful process of coloring with Christmas lights, infusing your artwork with a festive glow.
Whether you’re coloring for yourself or creating a gift, this technique will make your pages truly stand out and captivate anyone who lays eyes on them. Let the festive coloring begin!
What You’ll Need
To embark on your Christmas lights coloring adventure, gather the following items:
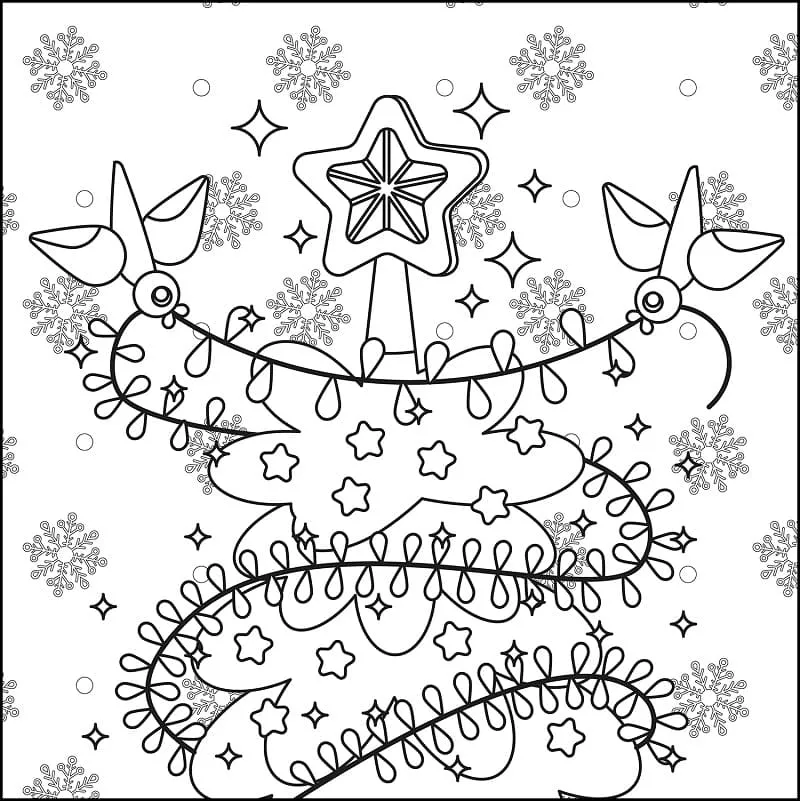
- Coloring pages: Choose pages with Christmas lights or other holiday themes. You can find free printable options online, like these: Christmas Lights Coloring Pages Printable, Coloring Christmas Light Bulbs, and Christmas Lights Coloring.
- Coloring tools: Use colored pencils, markers, crayons, or your preferred coloring medium. Opt for bright and vibrant colors to contrast well with the lights.
- Christmas lights: Choose LED, string, or fairy lights for their flexibility and size. These lights can wrap around your pages without causing damage. They come in various colors and shapes to match your style and mood. Affordable options can be found online, such as LED string lights, fairy lights, and star-shaped lights.
- Tape or glue: Select tape for a removable and reusable option, or use glue for a more secure and durable attachment.
Let the creativity unfold as you bring a sparkling touch to your coloring pages with the magic of Christmas lights!
How to Bring Your Coloring Pages to Life with Christmas Lights
Now that you’ve gathered your supplies, let’s dive into the steps to color with Christmas lights and give your artwork a magical touch:
- Color Your Pages: Begin by coloring your pages using your preferred tools and colors. Feel free to employ various styles like shading, blending, or outlining. Ensure that the areas where you plan to place the lights are lighter than the rest, creating a captivating contrast.
- Create Light-Receptive Holes: Use scissors or a hole puncher to craft small holes on your pages where the lights will shine through. These holes should be large enough for the bulbs to fit but not so big that they damage the paper. Experiment with patterns, like outlining images, scattering holes randomly, or forming clusters.
- Insert the Light Bulbs: Take your Christmas lights and insert a bulb through each hole. Make sure the bulb faces outward and doesn’t touch the paper. If needed, secure the bulbs in place with tape or glue.
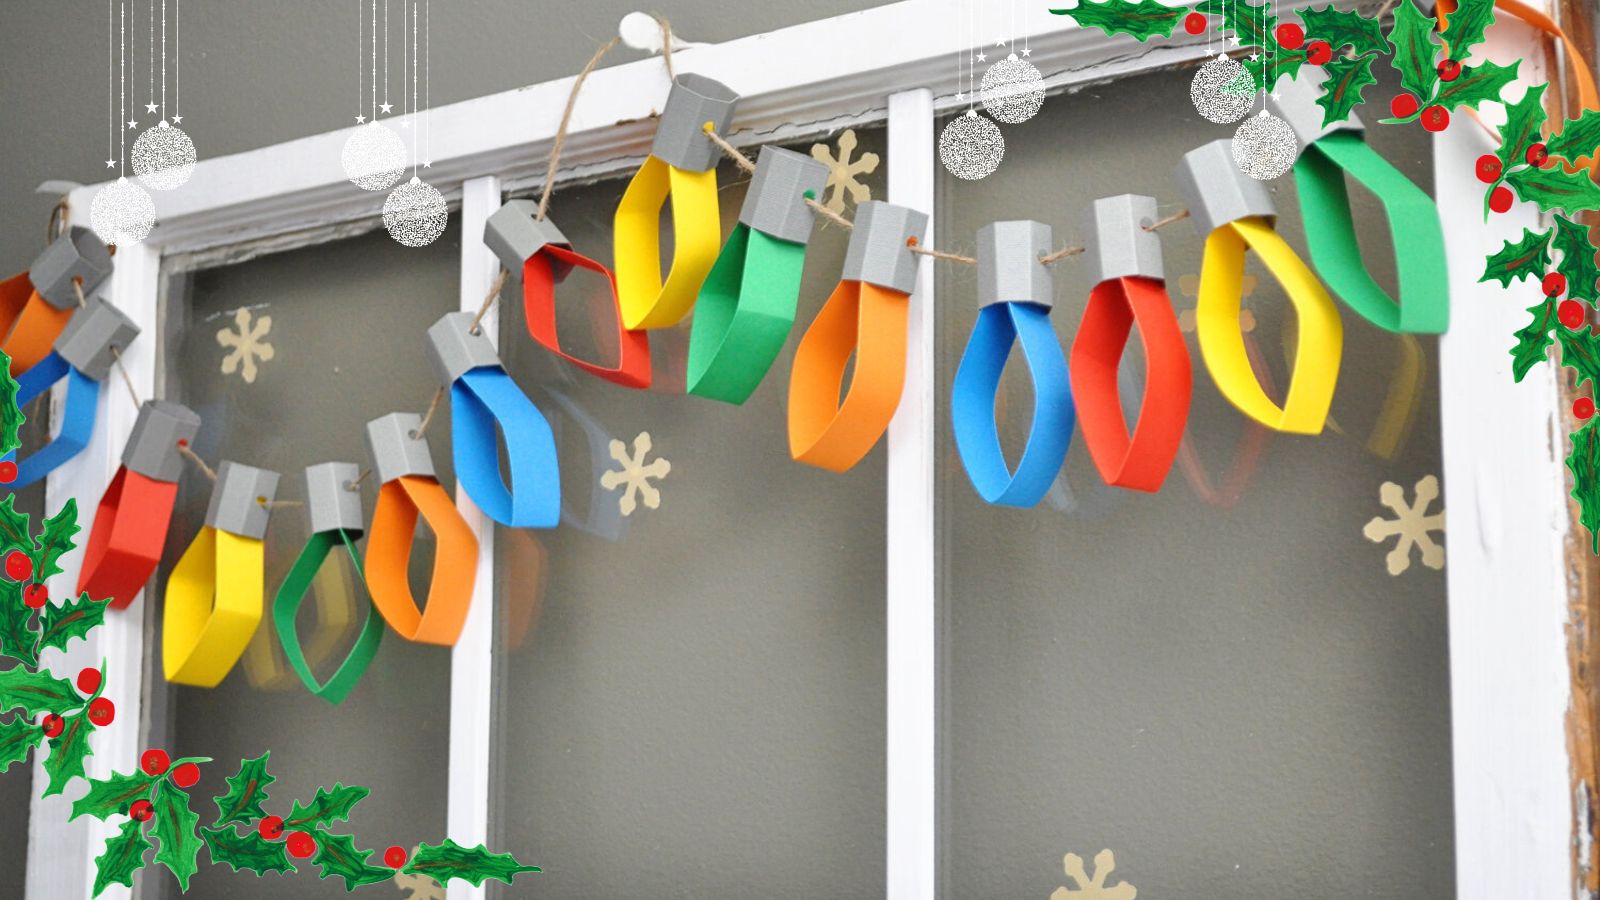
- Wrap the Lights Around: Take the remaining lights and wrap them around your pages. Be creative with your wrapping—try loose or tight, along the edges, or in various patterns. Let your imagination guide you.
- Illuminate Your Masterpiece: Plug in or turn on your Christmas lights, basking in the beauty of your illuminated artwork. Observe how the lights add depth and dimension, transforming your coloring pages into a festive and lively display. Showcase your creation on a wall, window, door, or anywhere you fancy. Consider gifting these unique pieces to friends and family who will surely appreciate your creativity.
Tips and Tricks
Enhance your coloring with Christmas lights experience with these tips:
- Experiment with Different Lights: Try using warm white lights for a cozy ambiance or multicolored lights for a playful vibe. Explore different shapes, such as stars or snowflakes, to match your theme.
- Mix and Match Pages: Combine multiple coloring pages for a more intricate artwork. Mix themes like snowmen, reindeer, or ornaments. Get creative by cutting and combining different elements from various pages.
- Add Embellishments: Elevate your coloring pages by incorporating embellishments like glitter, stickers, ribbons, or beads. Attach them to your pages or directly onto the lights for a personalized touch.
We hope this guide adds a spark of festive joy to your coloring experience. Enjoy transforming your pages into dazzling masterpieces with the enchantment of Christmas lights!