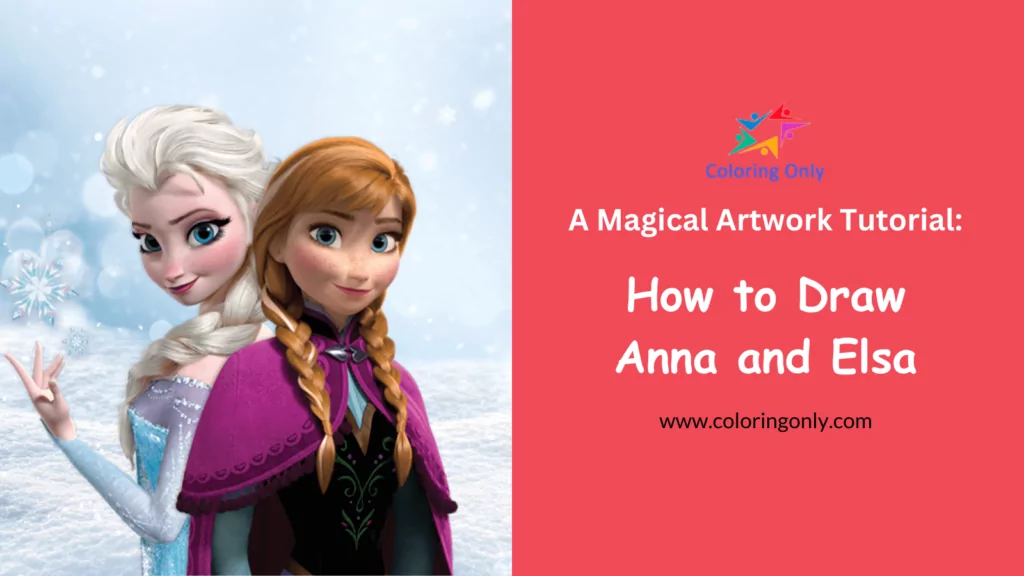
Are you prepared to make the enchanting world of “Frozen” come alive with your artistic abilities? In this step-by-step guide, we’ll demonstrate how to draw Anna and Elsa, the beloved sisters from Disney’s magical series. Get your pencil and let’s begin this creative journey together!
💡 It’s Trivia Time
Before we begin, here’s Anna and Elsa’s fascinating trivia:
| Frozen II is the highest-grossing animated film of all time, earning over $1.45 billion worldwide. |
| The character of Elsa is inspired by Hans Christian Andersen’s fairy tale, “The Snow Queen.” |
| Anna’s design is influenced by the Norwegian folk costume called “bunad.” |
| Elsa’s magical powers and her iconic song “Let It Go” became instant pop-culture sensations. |
🎨 Materials Needed
Make sure to have the following materials within reach:
- Pencil
- Eraser
- Drawing paper
- Coloring materials like colored pencils, markers, or crayons
Now that you have a touch of Frozen magic, let’s begin drawing Anna and Elsa. Follow these simple steps to create your own masterpiece:
Step 1: Hair
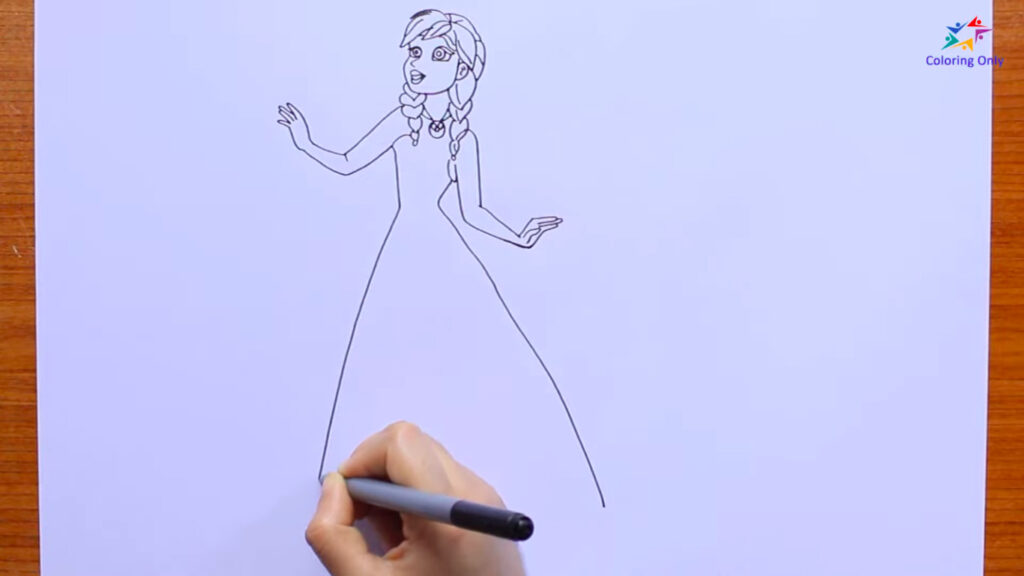
Begin by drawing the hair of Anna. Start with an outline of her hairstyle, which consists of two braids hanging over her shoulders. Take your time to capture the flow and details of her hair.
Step 2: Facial Features
Next, focus on the facial features of Anna. Draw her eyes, eyebrows, nose, and mouth. Pay attention to the shape and proportions to create a recognizable likeness of the character. Don’t forget to include her freckles!
Step 3: Hands and Arms
Now, move on to drawing Anna’s hands and arms. Position them in a way that complements the overall pose of the character. Take care to sketch the fingers and the curvature of the arms.
Step 4: Body Figure and Dress
Once the arms are in place, proceed to draw the body figure of Anna. Start with a basic shape and then add more details, such as her neck and shoulders. Then, carefully outline her dress, incorporating the distinctive elements and patterns.
Step 5: Designs and Gown’s Fold
Enhance the look of Anna’s dress by adding intricate designs and patterns. Pay attention to the folds and creases of the gown, as they add depth and realism to your drawing.
Step 6: Repeat for Elsa
To draw Elsa, follow the same steps as for Anna. Begin with her hair, capturing her unique style. Move on to the facial features, hands, and arms, body figure, and dress. Consider adding a touch of snowflakes on her hands to enhance the portrayal. Make sure to incorporate the specific details that make Elsa instantly recognizable.
Step 7: Color Your Drawing
Once you have finished your drawing of Anna and Elsa, it is time to infuse it with vibrant colors! You can take inspiration from the hues featured in the “Frozen” movies or unleash your creativity and explore limitless possibilities.
Utilize your coloring tools to breathe life into these beloved characters on the page. As you start this creative journey, remember to enjoy it and let your imagination show. Your drawings of Anna and Elsa will show how much you love and enjoy these amazing characters.
If you’re looking for visual guidance and inspiration, you can also refer to this YouTube video: How to Draw Anna and Elsa. You may also download the Anna and Elsa coloring page from our website so you can directly color it together with us! Download the printable coloring page here: Anna and Elsa Coloring Page


