Drawing horses can be a really rewarding experience, whether you’re just starting out or have been drawing for years. No matter your skill level, getting the hang of the basics and techniques of horse drawing can really boost your creativity. In this article, we’ll explore the fascinating world of horses, guide you step-by-step through the process of drawing one, and share some handy tips to make your horse drawings look more realistic and lively.
Understanding Horses: A Brief Educational Insight
Horses are majestic animals known for their grace, strength, and beauty. They have been companions to humans for centuries, playing crucial roles in transportation, agriculture, and sports. Horses come in various breeds, each with unique characteristics and features. Understanding these nuances can greatly enhance your ability to draw horses accurately.
Anatomy of a Horse
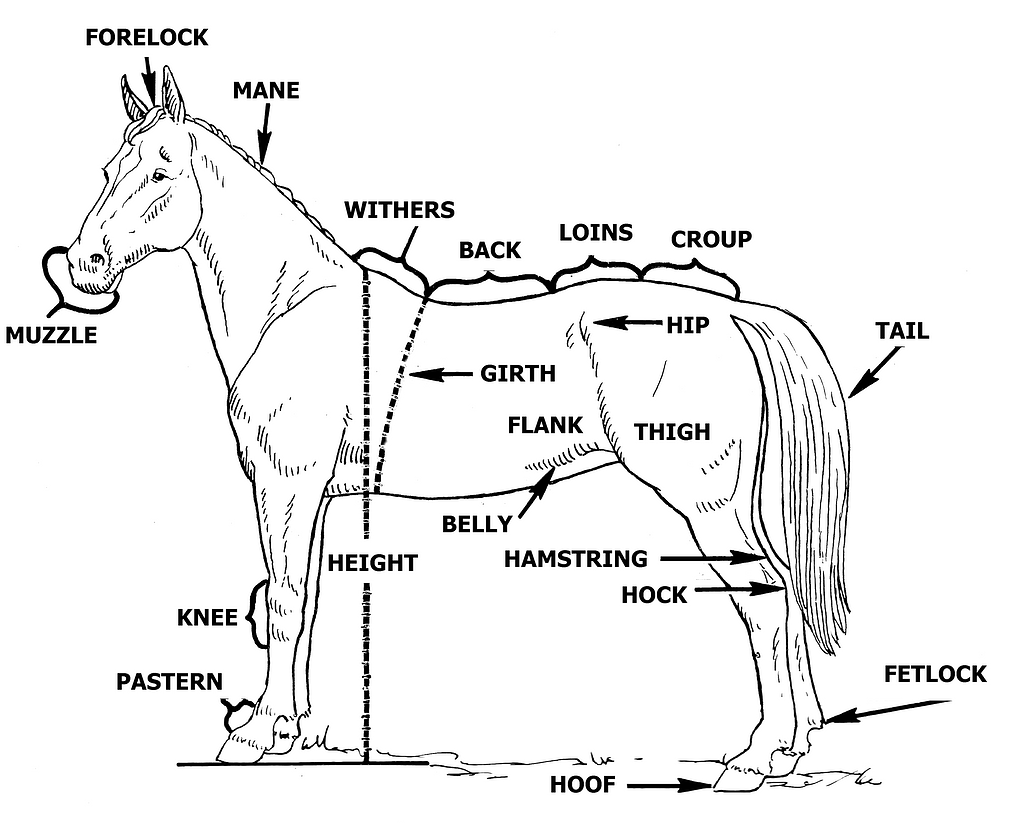
Archives of Pearson Scott Foresman, donated to the Wikimedia Foundation
Before you start drawing, it’s essential to familiarize yourself with the anatomy of a horse. Key aspects to consider include:
- Head and Neck: Horses have long, muscular necks and distinctively shaped heads with prominent eyes, nostrils, and ears.
- Body: The body is robust with a deep chest, well-defined withers, and a strong back.
- Legs: Horses have powerful legs with defined muscles, joints, and hooves.
- Tail and Mane: The tail is typically long and flowing, while the mane varies in length and thickness depending on the breed.
Common Horse Breeds

Understanding the characteristics of different horse breeds can help you add realism to your drawings. Some popular breeds include:
- Arabian: Known for their dished faces and high tail carriage.
- Thoroughbred: Tall and athletic, often used in racing.
- Quarter Horse: Muscular and compact, ideal for sprinting short distances.
- Clydesdale: Large and powerful, commonly used for heavy lifting.
By studying these breeds, you can incorporate specific traits into your horse drawings, making them more authentic and recognizable.
How to Draw a Horse Step by Step
Drawing a horse can be both a challenging and rewarding experience for artists. Whether you are a beginner or an experienced artist, understanding the fundamentals of drawing horses will enhance your skills. This guide will take you through the detailed steps of creating a stunning horse drawing, from basic shapes to final touches.
Drawing a Horse: Step 1
To begin drawing a horse, start by focusing on the basic shapes that make up the horse’s form. This initial step is all about discovering the relationships between lines, shapes, and proportions.

Note: At the start of any drawing, it is crucial to sketch lightly and loosely to find the correct shapes and proportions. A light touch makes it easier to erase mistakes. It is common for artists to adjust lines and shapes multiple times at this stage.
- Start with Basic Shapes: Use circles for the head and body, and connect them with lines to form the neck, back, and legs.
- Outline the Main Structure: Define the major parts of the horse, including the head, neck, body, legs, and tail, using light lines.
- Proportion and Placement: Adjust the sizes and positions of these shapes to ensure they are proportionate.
Drawing a Horse: Step 2
The second step involves adding dark tones to begin shaping the horse’s form. This stage is about establishing where the darkest tones should be.
Note: Maintain a light and relaxed drawing technique. Use loose hatching and cross-hatching to apply basic tones.
- Identify Dark Areas: Determine where shadows will fall based on the light source.
- Apply Basic Shading: Use light hatching and cross-hatching to start building up the dark areas.
- Maintain Light Touch: Keep your hand light and relaxed to easily adjust the shading if needed.
Drawing a Horse: Step 3
In the third step, enhance the dark tones to bring out the horse’s muscular details.

Note: Gradually strengthen and blend the dark tones with careful shading. The goal is to increase contrast and unify the texture, emphasizing the horse’s strong muscles. Focus on each muscle group, maintaining a balanced tonal contrast throughout.
- Enhance Muscles: Gradually darken the shaded areas to highlight the horse’s muscle definition.
- Blend the Shading: Use blending tools or your fingers to smooth the transitions between light and dark areas.
- Refine Details: Focus on smaller muscles and intricate details to bring more realism to the drawing.
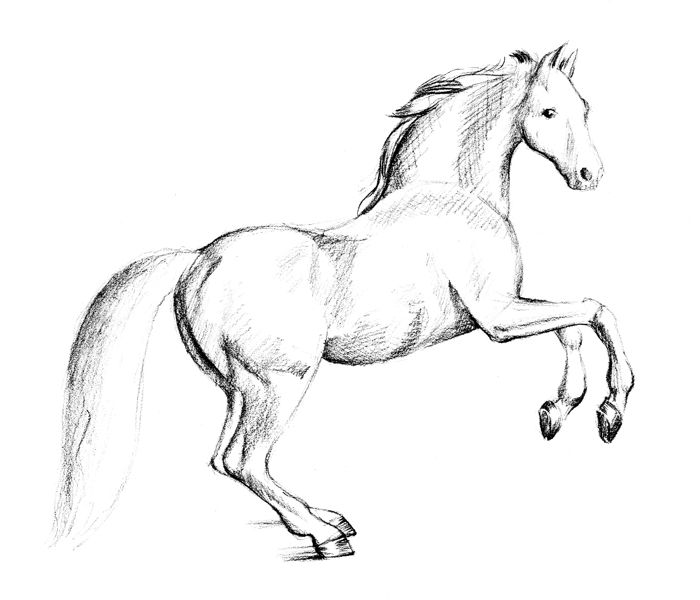
Drawing a Horse: Step 4
The final step is to unify the horse’s form, tones, and textures by deepening the shadows and increasing contrast.

Note: In previous stages, you focused on individual elements like line, shape, tone, and texture. Now, unite these elements to define the horse’s overall form. Apply deeper shading layers to the darkest areas to strengthen the unity of form and enhance the horse’s dramatic character.
- Deepen Shadows: Apply more intense shading to the darkest areas, using a heavier hand.
- Increase Contrast: Ensure that the contrast between light and dark areas is pronounced to enhance the overall form.
- Unify Elements: Blend all the shading smoothly to create a cohesive image that captures the horse’s strength and elegance.
By following these steps, you can create a detailed and realistic horse drawing that captures the essence of this majestic animal. Practice each step thoroughly and don’t be afraid to make adjustments as needed. Drawing is an iterative process, and with patience and persistence, you will see significant improvement in your skills.
Common Challenges and How to Overcome Them
Drawing horses can present several challenges. Here are some common issues and tips to overcome them:
Getting the Proportions Right
Horses have distinctive proportions that can be tricky to capture. Use guidelines and reference points to ensure that each part of the horse is correctly sized and positioned.
Drawing Dynamic Poses
Horses are often depicted in motion, which can be challenging to draw. Practice drawing horses in various poses, from galloping to grazing, to improve your ability to capture dynamic movement.
Rendering the Mane and Tail
The mane and tail can be difficult to draw realistically. Focus on capturing the flow and texture of the hair. Use light, wispy strokes for individual strands and darker, thicker lines for shadows and depth.
Shading and Lighting
Proper shading is essential for adding realism. Study how light interacts with the horse’s body and practice shading techniques to create smooth transitions and realistic shadows.
Horse Coloring Pages You Can Color for Free
If you don’t want to draw but would love to color a horse, we’ve got you covered too. Below, you’ll find our collection of horse coloring pages:
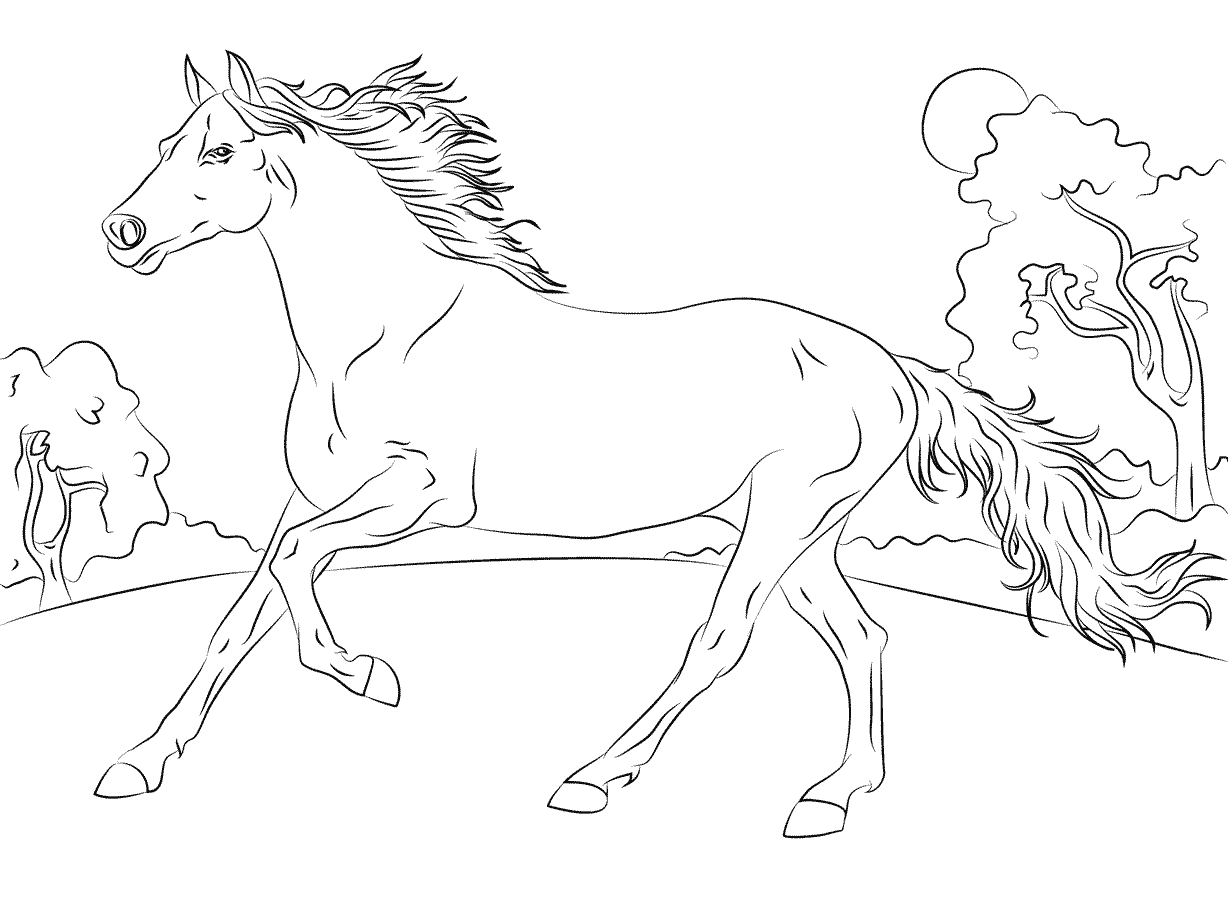
Arabian Horse: Enjoy coloring this elegant and graceful Arabian horse, known for its distinctive head shape and high tail carriage.
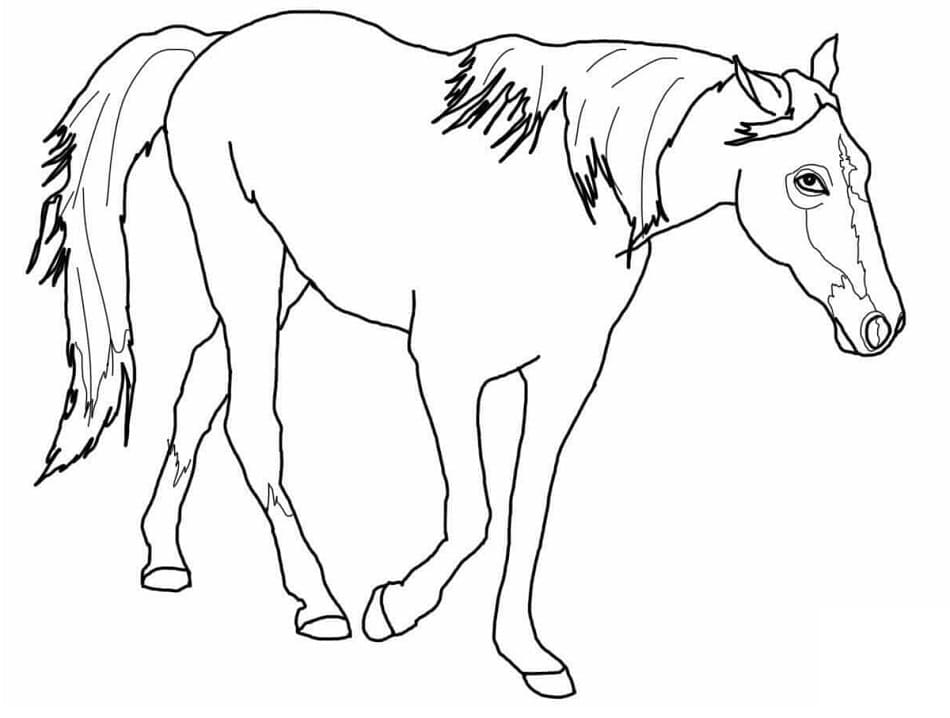
Tennessee Horse: Color this strong and smooth Tennessee horse, perfect for those who love vibrant and majestic animals.
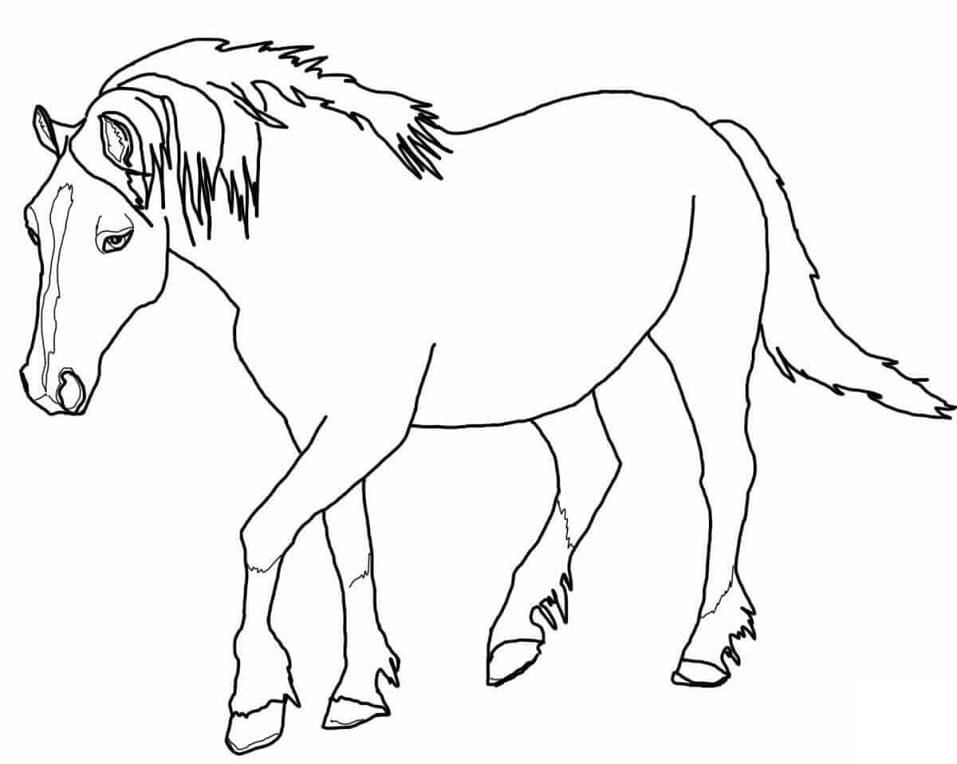
Palomino Welsh Horse: Bring this beautiful Palomino Welsh horse to life with your favorite colors.
Gypsy Vanner Horse: Have fun coloring the distinctive Gypsy Vanner horse with its striking coat and feathered legs.
Horse on Grass: This peaceful scene of a horse grazing on grass is perfect for a relaxing coloring session.
Drawing horses is a rewarding endeavor that combines artistry with a deep appreciation for these magnificent animals. By understanding horse anatomy, practicing regularly, and using effective techniques, you can create stunning horse drawings that capture the beauty and grace of your subject. Always observe, experiment, and refine your skills continually.