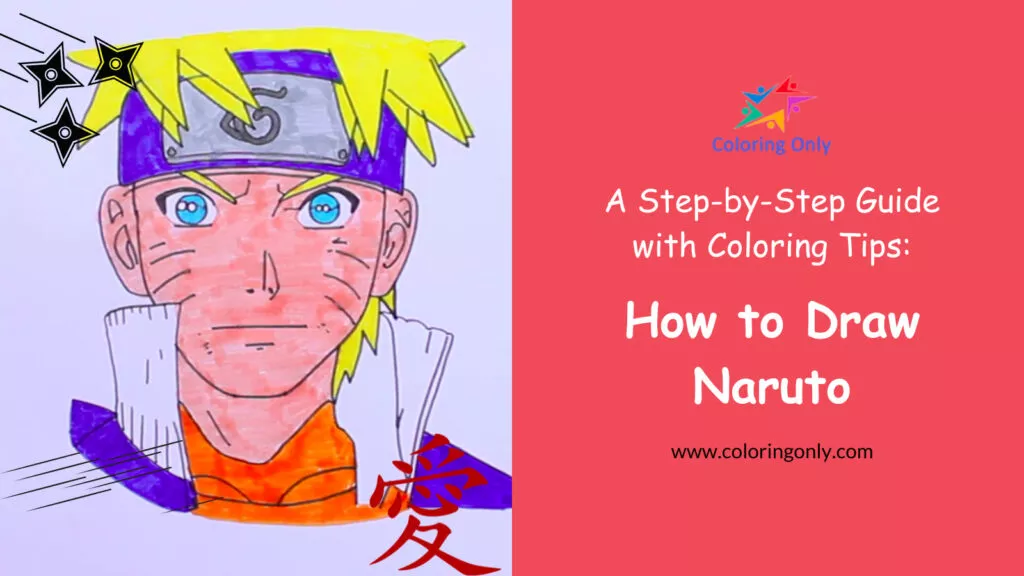
Have you ever wished to become an artist and bring the dynamic character of Naruto to life on paper? We’ll take you on an exciting journey through a step-by-step guide on how to draw Naruto, the renowned ninja from the popular anime and manga series. To enhance your learning experience, we encourage you to refer to the insightful YouTube video How to Draw Naruto while following along with our instructions.
💡It’s Trivia Time!
Before we proceed, let’s explore some fascinating trivia about Naruto:
| Trivia | Explanation |
| Nine-Tailed Fox Kurama | Naruto’s whisker marks are a result of the Nine-Tailed Fox, Kurama, sealed within his body. |
| Konoha Village | Naruto represents the village of Konoha, and his head protector symbolizes his allegiance. |
| Shadow Clone Technique | Naruto’s signature jutsu is the Shadow Clone Technique, which allows him to create multiple copies of himself. |
| Rasengan | Rasengan is a powerful technique mastered by Naruto, requiring precise control of the chakra. |
🎨 Materials Needed
- Drawing Paper: Start with a high-quality drawing paper that can handle various drawing techniques and erasing.
- Pencils: Prepare a set of pencils with different lead hardness if you want to sketch first.
- Eraser: Have a soft eraser on hand to correct mistakes and refine your drawing.
- Fine-tip Markers or Pens: Opt for fine-tip markers or pens to outline and add details to your Naruto artwork.
- Coloring Materials: Choose your preferred coloring materials to add vibrancy to your drawing. You can use markers, color pens, colored pencils, crayons, or watercolors.
Step 1: Hair and Head Protector
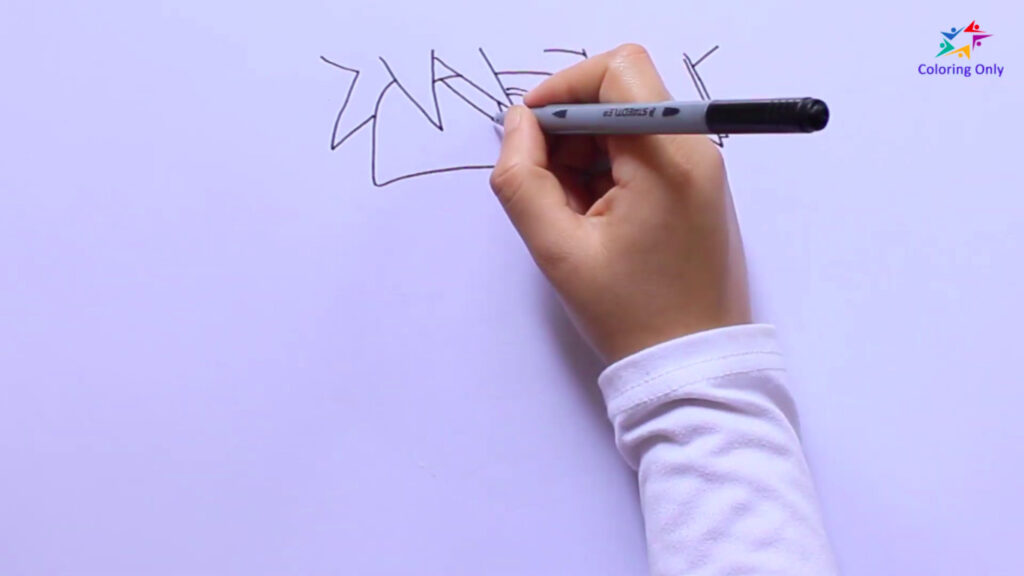
Begin by drawing Naruto’s distinct spiky hair, capturing its unique shape with lively strokes. Don’t forget to add the head protector, which bears the symbol of Konoha.
Step 2: Face and Ears Outline
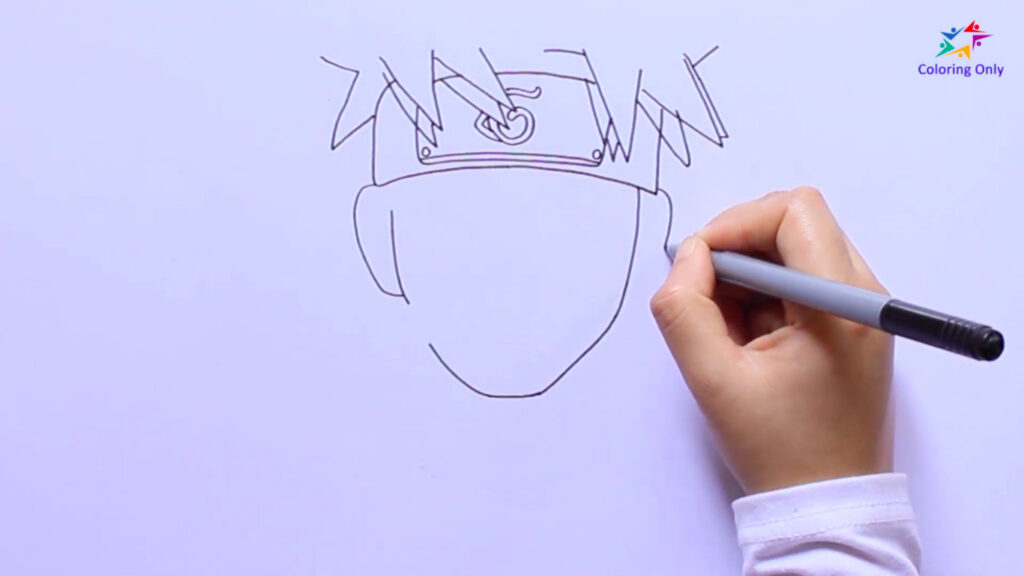
Outline Naruto’s face, emphasizing his youthful features. Sketch his ears proportionately on the sides of his head.
Step 3: Brows, Eyes, and Whiskers
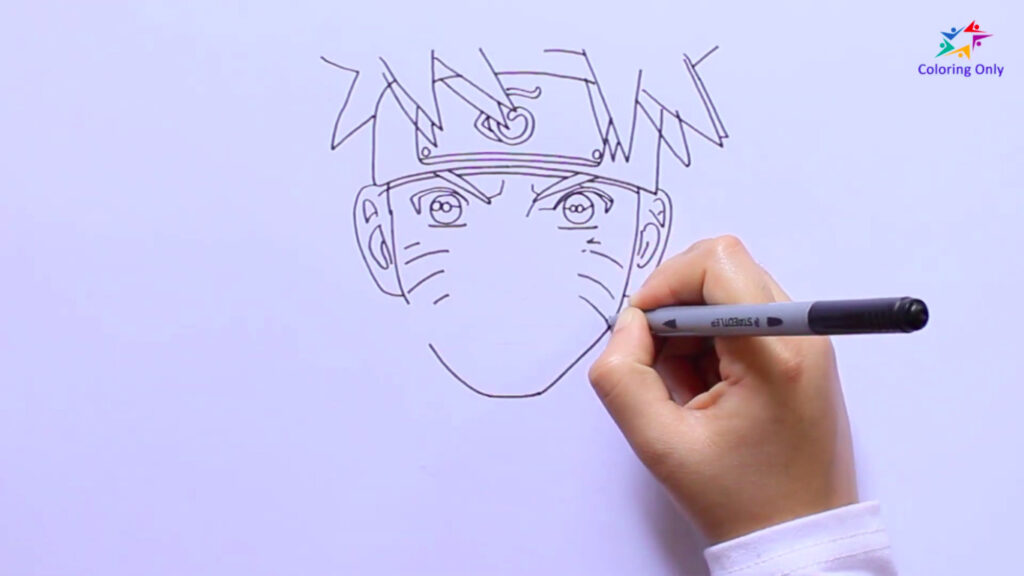
Draw Naruto’s thick, expressive eyebrows, showcasing his determination. Capture the essence of his eyes and include the distinctive whisker marks on his cheeks, representing the Nine-Tailed Fox within him.
Step 4: Nose and Mouth
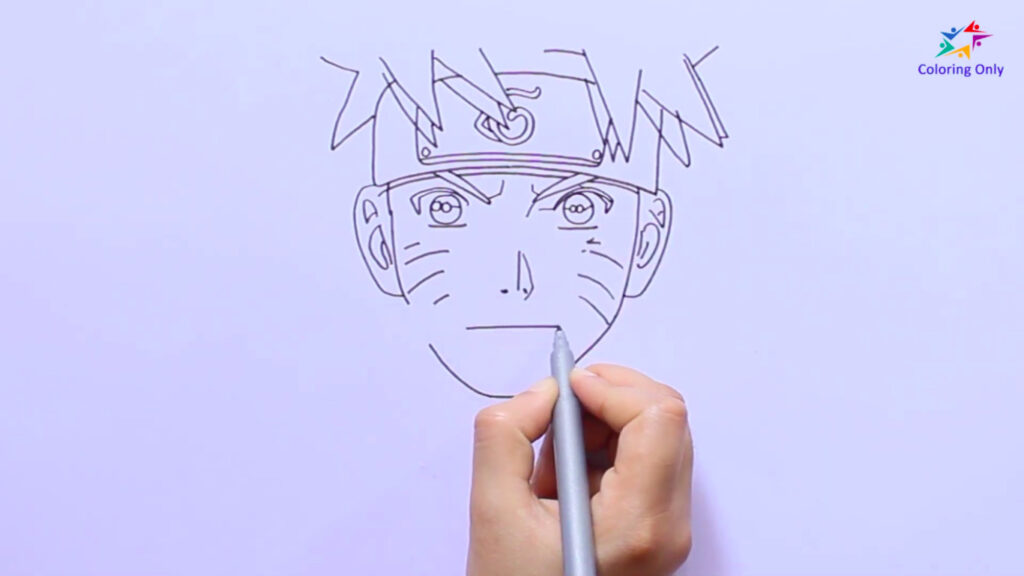
Add Naruto’s nose with a simple curved line, placing it above his serious mouth. This expression highlights his brave nature.
Step 5: Flak Jacket
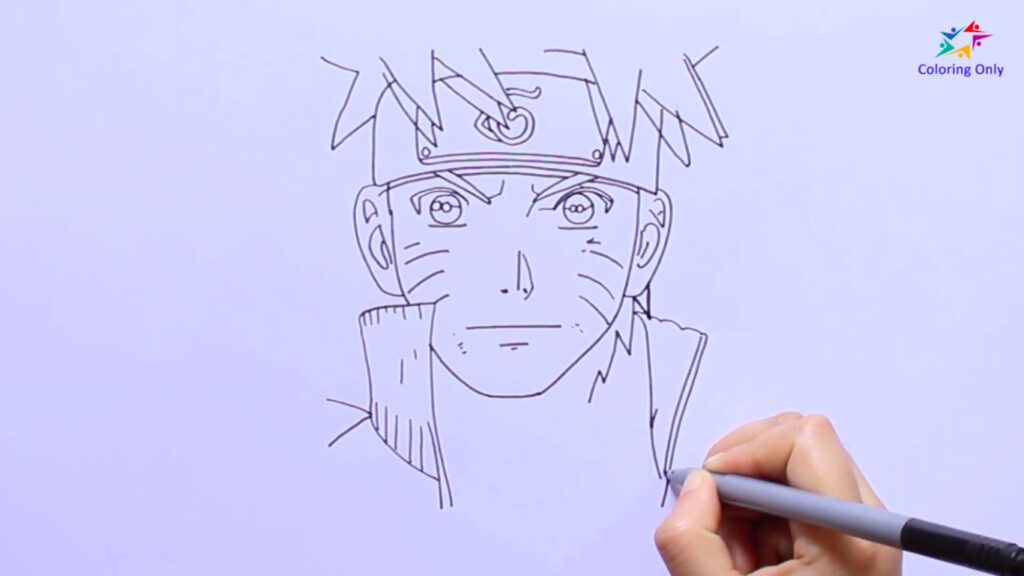
Skillfully draw the collar of Naruto’s protective flak jacket, extending it slightly beyond his shoulders to add depth and realism to your artwork.
Step 6: Coloring the Artwork
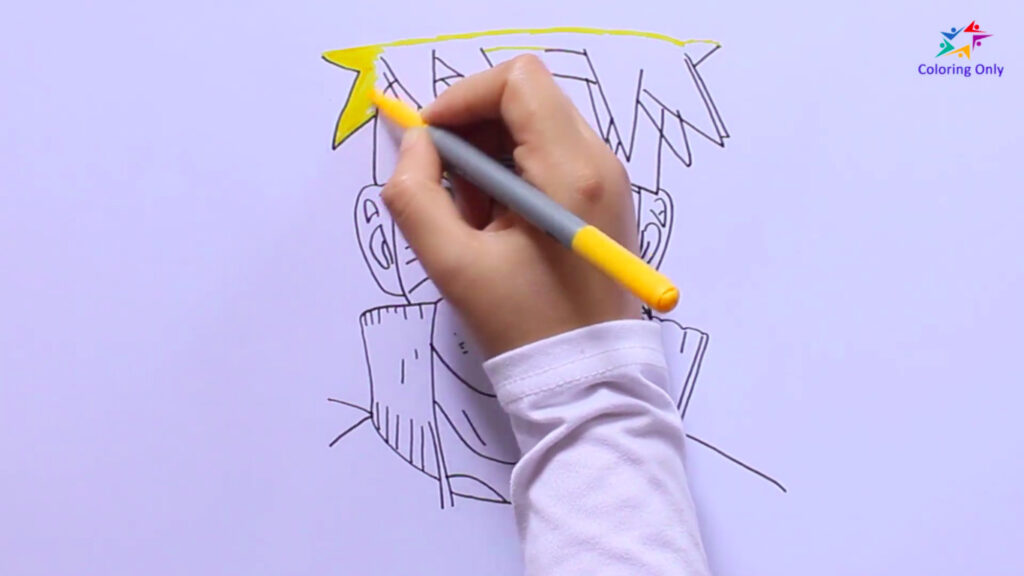
Infuse your Naruto drawing with vibrant colors. You can use markers, color pens, or any coloring materials of your choice to bring Naruto’s hair, eyes, headband, and clothing to life. Don’t forget to include the distinctive whisker marks on his cheeks.
Drawing Naruto is an enjoyable endeavor that allows you to express your creativity while paying homage to a beloved character. By following the step-by-step instructions provided in this guide, you’ll be able to create your own captivating artwork. Remember to experiment with colors and infuse Naruto’s spirit into your drawing.
To follow the coloring tips, watch our How to Draw Naruto, which is helpful for capturing accurate details and proportions. Feel free to get the Naruto coloring page from our website and join us in coloring it! You can download the printable coloring page here: Naruto Coloring Page