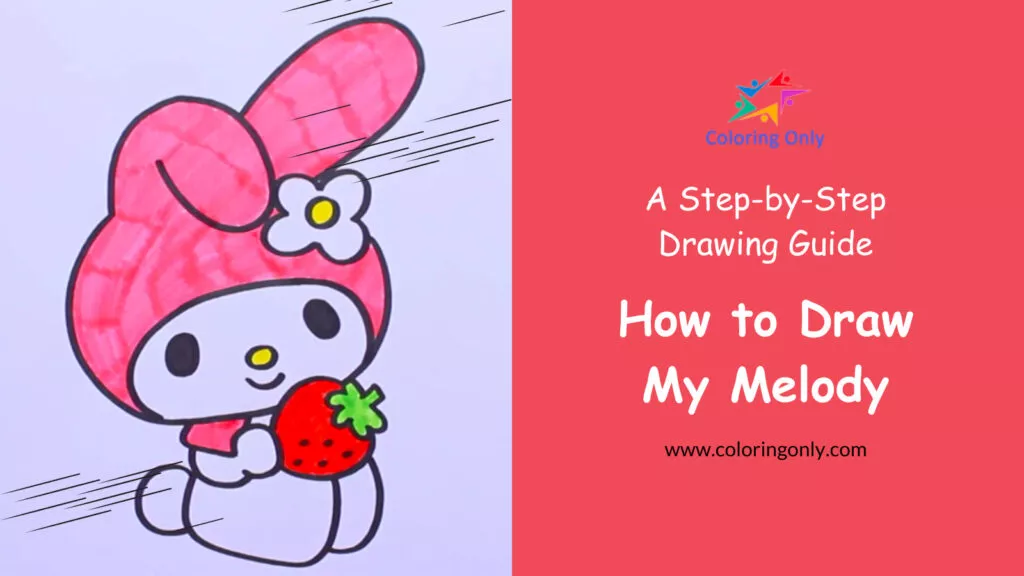
Are you a devoted follower of My Melody? Our concise guide will walk you through simple and achievable steps to master the art of drawing My Melody. This activity is perfect for kids and children who enjoy drawing and coloring. Feel free to use our video tutorial below as a reference while you draw.
💡It’s Trivia Time!
As a quick diversion, here’s our trivia about My Melody:
| My Melody is a popular character from Sanrio, the same company behind Hello Kitty. | She made her debut in 1975 and has since become one of Sanrio’s most beloved characters. |
| My Melody is often depicted as a white rabbit with floppy ears and a pink or red hood covering her ears. | Her full name is “My Melody” or sometimes “My Melody-chan” in Japanese. |
🎨 Materials Needed
- Pencil
- Eraser
- Drawing paper
- Coloring materials (markers, colored pencils, or crayons)
Step 1: Ears and Head
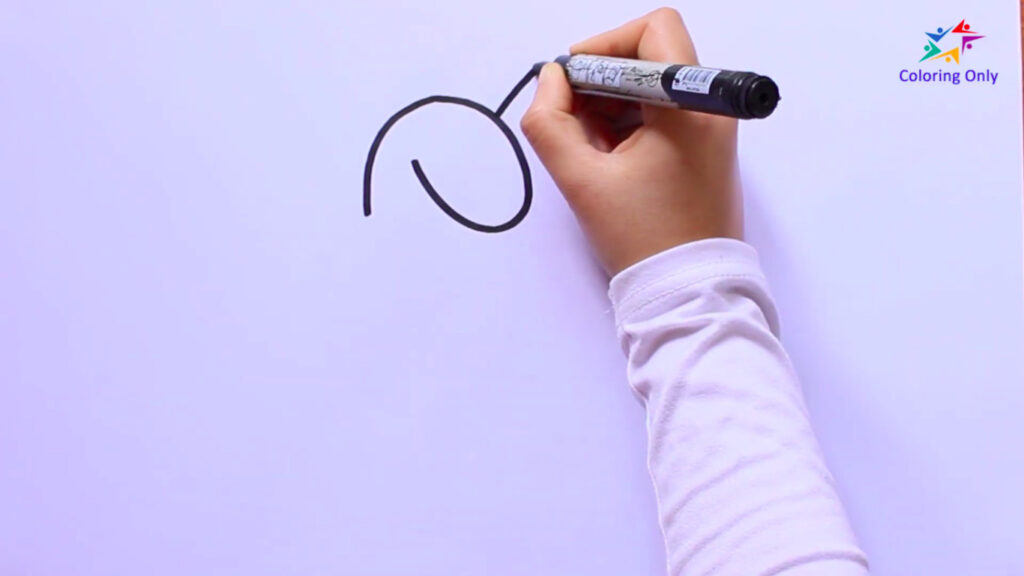
Start by drawing two long ears on top of the head. Then, the rounded shape below the ears to form My Melody’s head. Take your time to get the proportions right.
Step 2: Flower Drawing
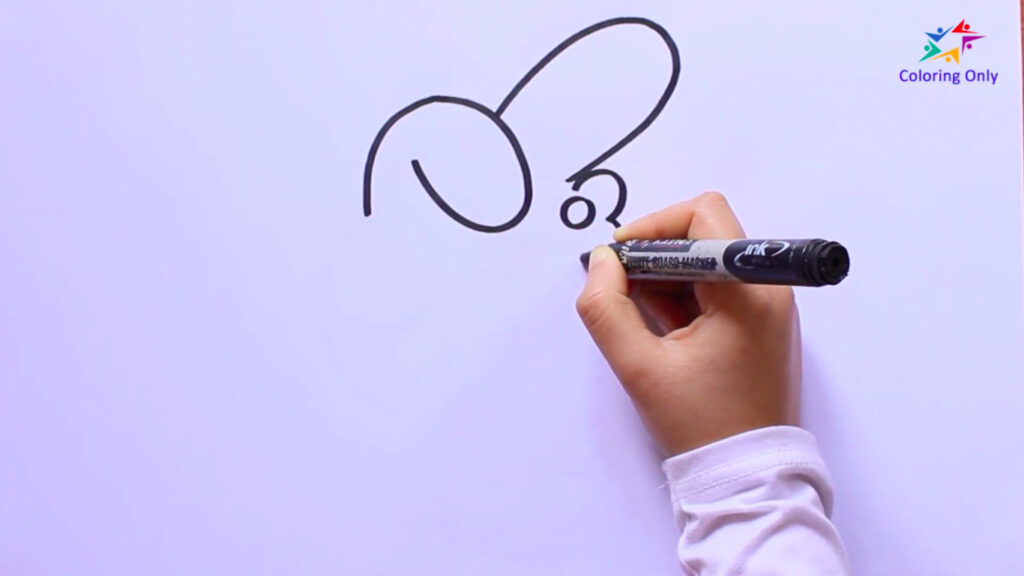
Draw the flower on her right ear. Make it simple by drawing five petals and one circle in the flower. Just draw slowly to capture the right shape.
Step 3: Shape of the Face
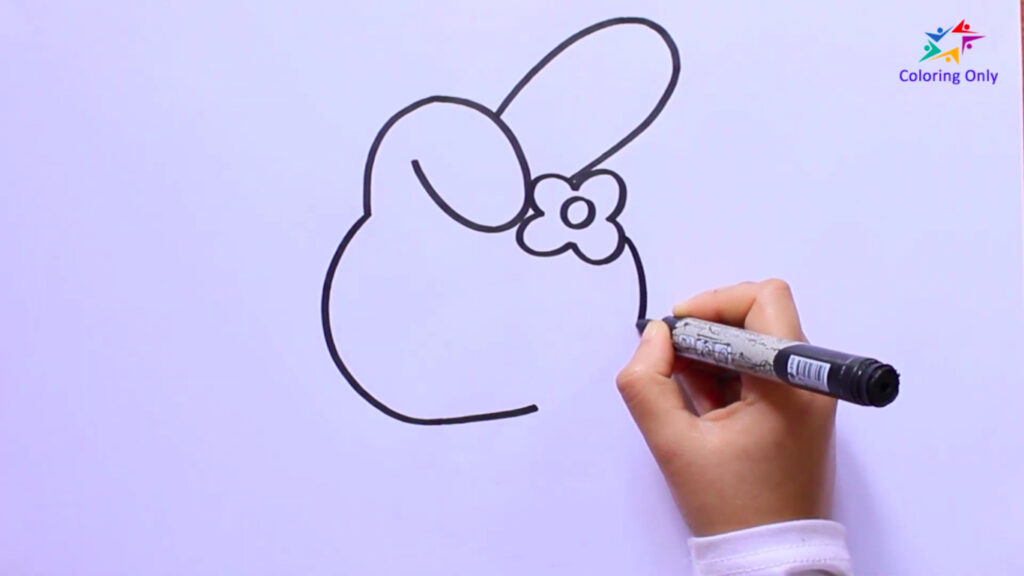
After the flower, draw the shape of her face. It is a wide, flat oval to create her adorable face. Follow the reference image or the video tutorial we provided below.
Step 4: Facial Feature
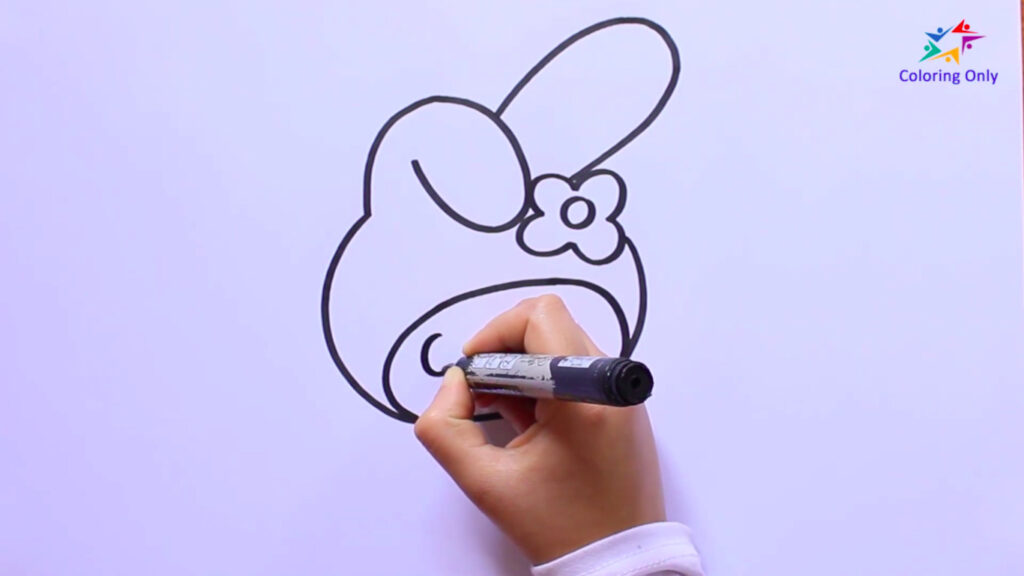
Next, add simple facial features to bring My Melody to life. Draw two large oval-shaped eyes and a small circle for the nose. Add a curved line to represent the mouth, giving My Melody a sweet smile.
Step 5: Object My Melody is Holding
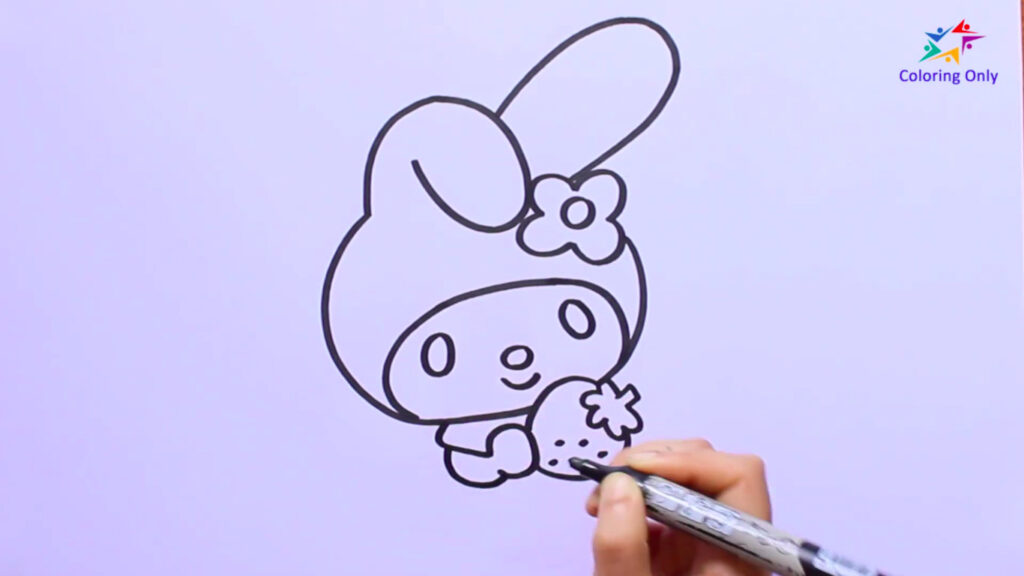
Now, draw the object that My Melody is holding. It could be a strawberry, a flower, or anything you like. Use your imagination and be creative. Keep the object within My Melody’s grasp.
Step 6: Hands and Feet
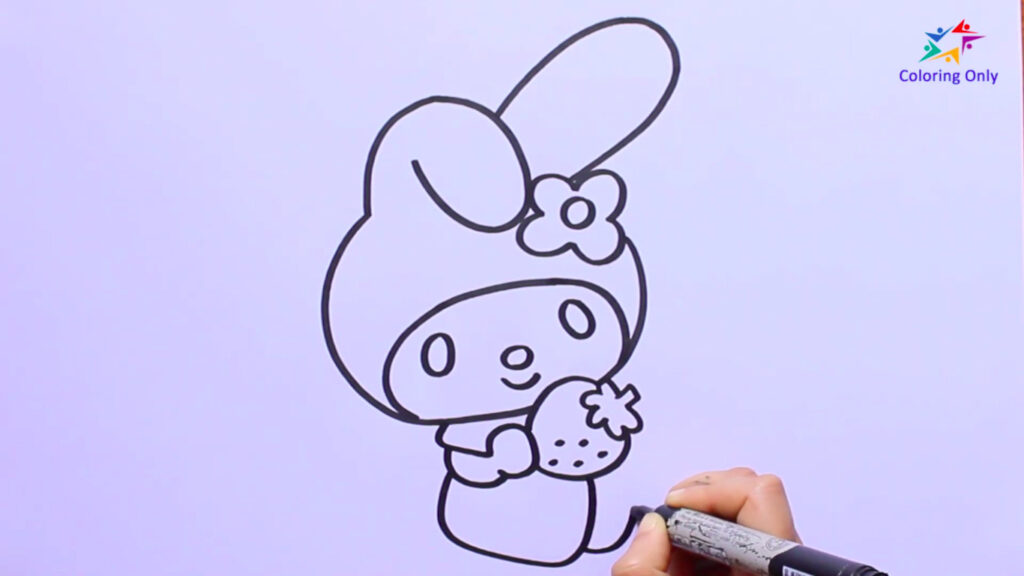
Continue by drawing My Melody’s hands and feet. Draw small oval shapes for the hands, and for the feet, draw two simple curved lines at the bottom of the body to indicate where the feet are positioned.
Step 7: Color Your Artwork

Now is the time to add color to your drawing. Use your coloring materials to bring My Melody to life. Soft shades of pink work well for the body, while white can be used for the face. Feel free to get creative and add your personal touch to the artwork.
Drawing My Melody is a wonderful activity for kids and children who love to be creative. By following the simple steps provided in this guide you’ll be able to create your own charming My Melody artwork. Remember to have fun and don’t forget to add color to make your drawing truly special.
For visual assistance, you can refer to the YouTube tutorial linked here: How to Draw My Melody. Now it’s your turn to grab your art supplies, follow the steps, and have fun drawing My Melody. You may also download the My Melody coloring page from our website so you can directly color it together with us! Download the printable coloring page here: My Melody Coloring Page