If you’re a fan of Five Nights at Freddy’s and want to try your hand at drawing one of its iconic characters, you’ve come to the right place. In this step-by-step guide, we’ll show you how to draw Toy Freddy, one of the beloved animatronics from the game.
💡 It’s Trivia Time
| Toy Freddy is a character from the popular video game series “Five Nights at Freddy’s.” | Toy Freddy is one of the redesigned animatronic characters in the game, known for his cheerful appearance. |
| Toy Freddy is often seen holding a microphone, as he is one of the lead singers in the animatronic band. | Despite his friendly appearance, Toy Freddy can be quite mischievous and loves to surprise players in the game. |
🎨 Materials Needed
- Pencil
- Crayons
- Eraser
- Paper
Step 1: Draw the Hat

Begin by drawing Toy Freddy’s hat, which is a round shape with a flat brim. It should be slightly tilted to one side.
Step 2: Outline the Face
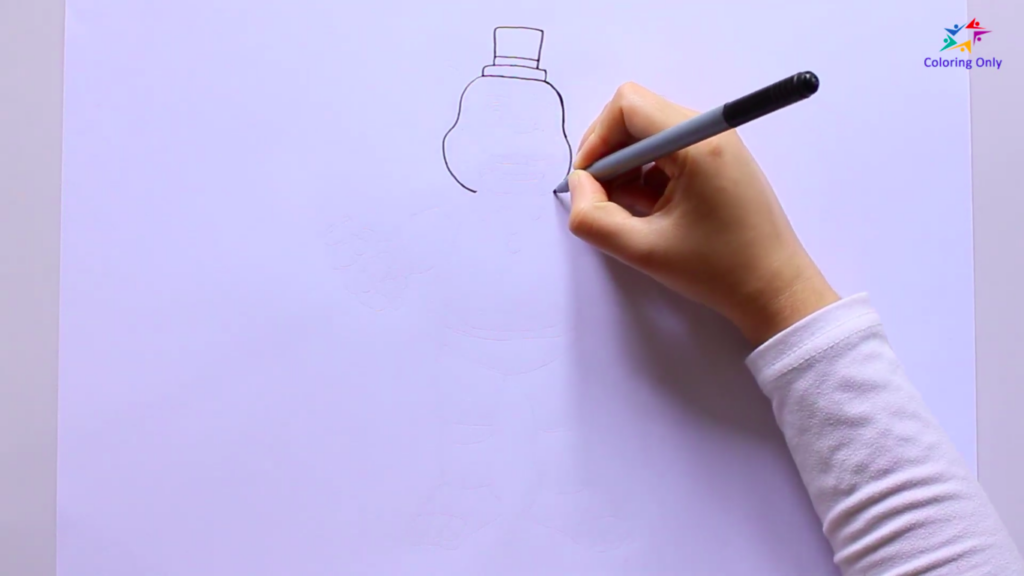
Then draw the outline of Toy Freddy’s face. Start from the bottom of the hat and draw a curved line downward.
Step 3: Draw the Ears

On either side of the hat, draw two ears. They should be similar in shape to the hat but slightly smaller.
Step 4: Add Facial Features
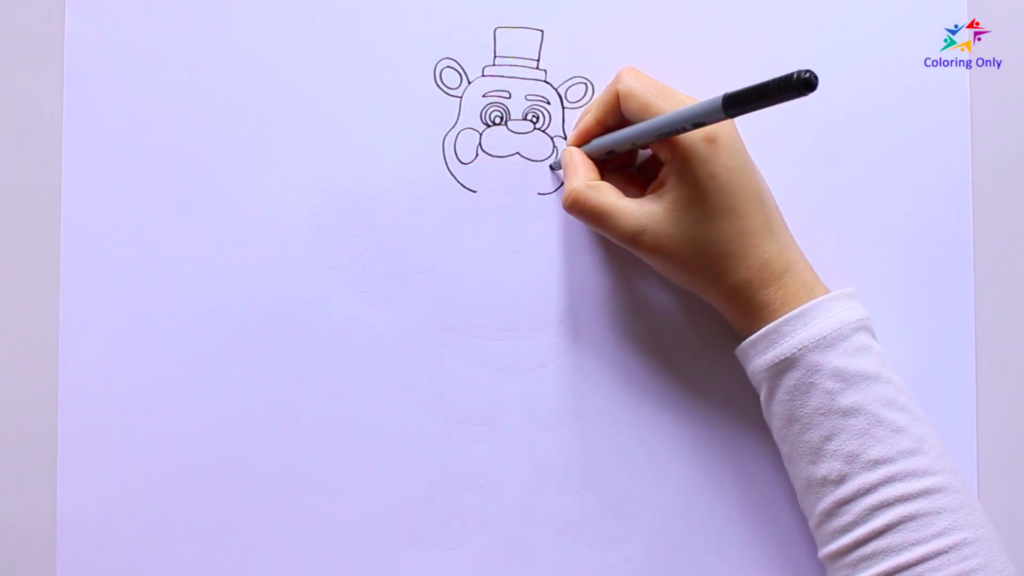
Add the facial features to bring Toy Freddy to life. Draw two large, round eyes in the middle of the face. Add small, circular pupils inside the eyes. Then, draw a nose right below the eyes and a smiling mouth below the nose.
Step 5: Put a Bow Tie
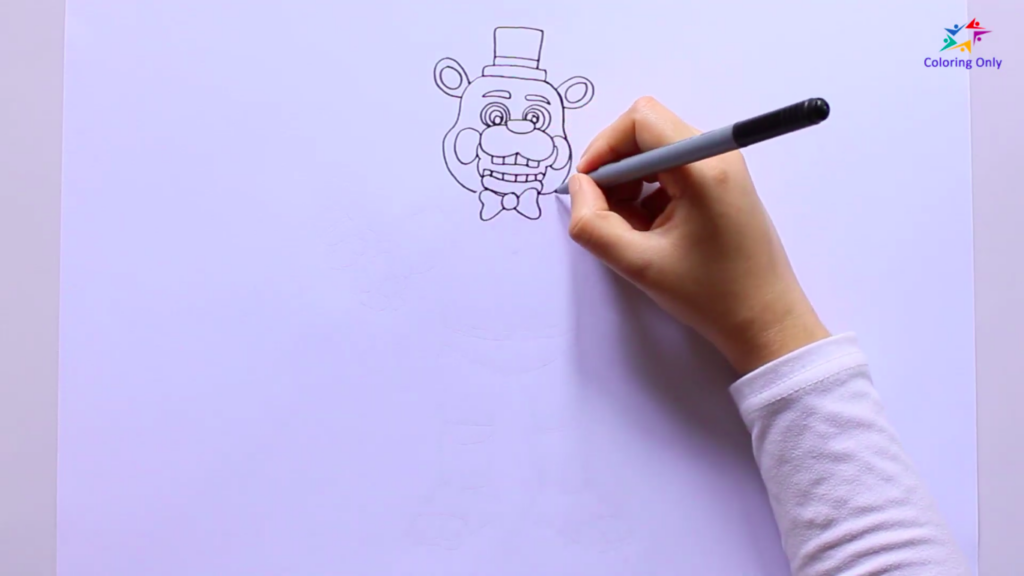
To give Toy Freddy a touch of charm, draw a bow tie below his mouth. The bow tie should be symmetrical and have two loops and two tails.
Step 6: Draw the Arm and Left Hand
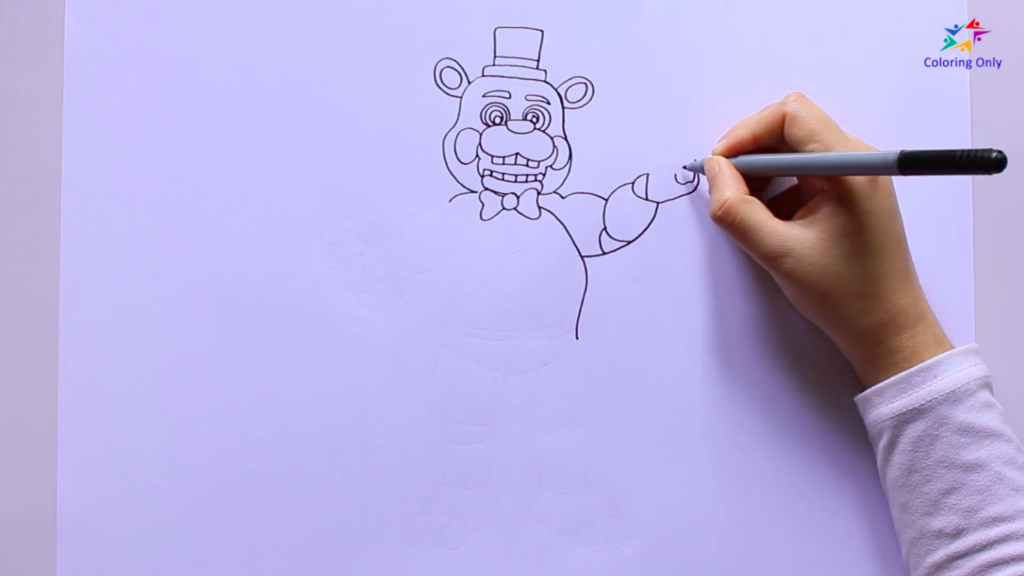
On the left side of the body, draw a curved line to create the arm. You can use the video below as your guide.
Step 7: Draw the Right Hand
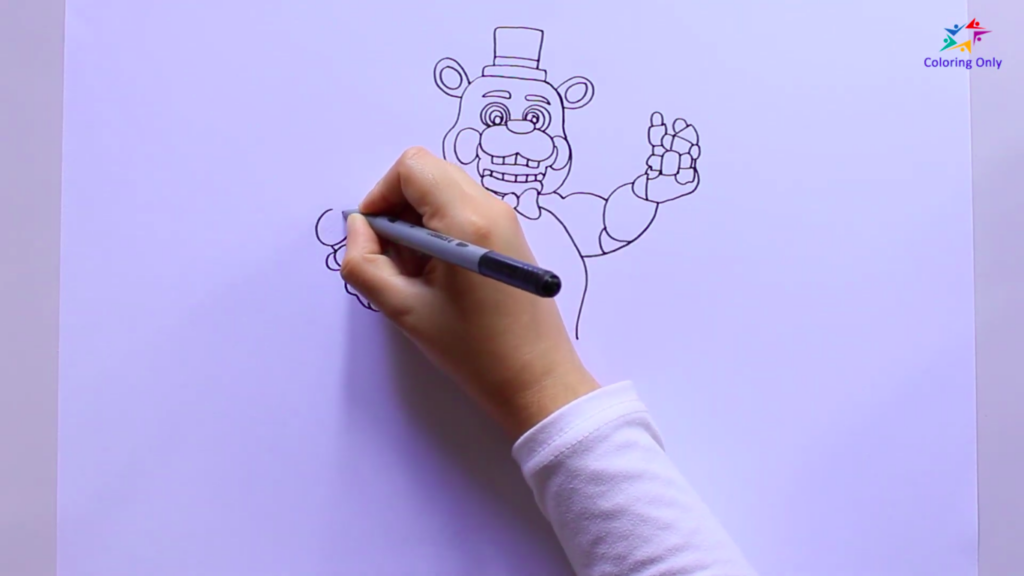
Then, draw Toy Freddy’s right hand, which should be holding a microphone.
Step 8: Draw the Stomach
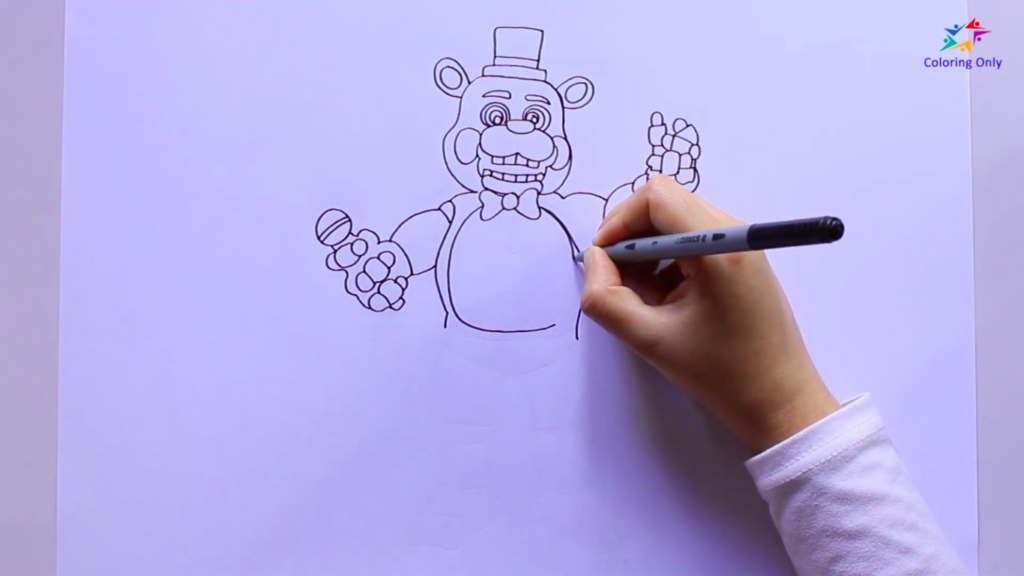
Beneath the face, draw a curved line to represent Toy Freddy’s stomach. It should be similar in shape to the lower part of the face.
Step 9: Draw the Legs

Extend two straight lines downward from the bottom of the stomach to create Toy Freddy’s legs. The lines should be slightly angled outwards.
Step 10: Draw Both Feet

At the end of each leg, draw a curved line to form Toy Freddy’s feet. The feet should be slightly rounded and wider at the front.
Step 11: Color Your Drawing

It’s time to add some color! You can use crayons or any other coloring materials of your choice. Get creative and bring Toy Freddy to life with your favorite colors!
Now you have the skills to bring Toy Freddy to life on paper! By following the simple steps in this guide, you’ve learned how to draw this beloved character from Five Nights at Freddy’s. Take a moment to appreciate your accomplishment and enjoy the creative process. Remember, drawing is all about expressing yourself and having fun.
If you want to see a visual demonstration of the drawing process, be sure to check out the YouTube video How to Draw Toy Freddy. It can provide you with additional tips and inspiration to enhance your artwork. You may also download the Toy Freddy coloring page from our website so you can directly color it together with us: Toy Freddy Coloring Page