Buzz Lightyear, the iconic space ranger from the Toy Story franchise, has captured the hearts of both children and adults alike. If you’ve ever wanted to bring this beloved character to life on paper, follow these simple steps to draw Buzz Lightyear in mid-flight.
💡 It’s Trivia Time!
In the spirit of fun, here’s our trivia fact about Buzz Lightyear:
| Buzz Lightyear’s catchphrase is “To infinity and beyond!” | Buzz’s space suit is equipped with various gadgets and features. |
| Buzz Lightyear is voiced by actor Tim Allen in the Toy Story films. | Buzz Lightyear has appeared in all four Toy Story movies. |
| Buzz Lightyear’s original name in the Toy Story script was Lunar Larry. | Buzz Lightyear is known for his bravery and dedication to protecting the galaxy. |
🎨 Materials Needed
To embark on this artistic adventure, gather the following materials:
- Blank paper
- Pencil
- Eraser
- Fine-tip black marker or pen
- Coloring materials (colored pencils, markers, or crayons)
Step 1: Space Suit Helmet and Head
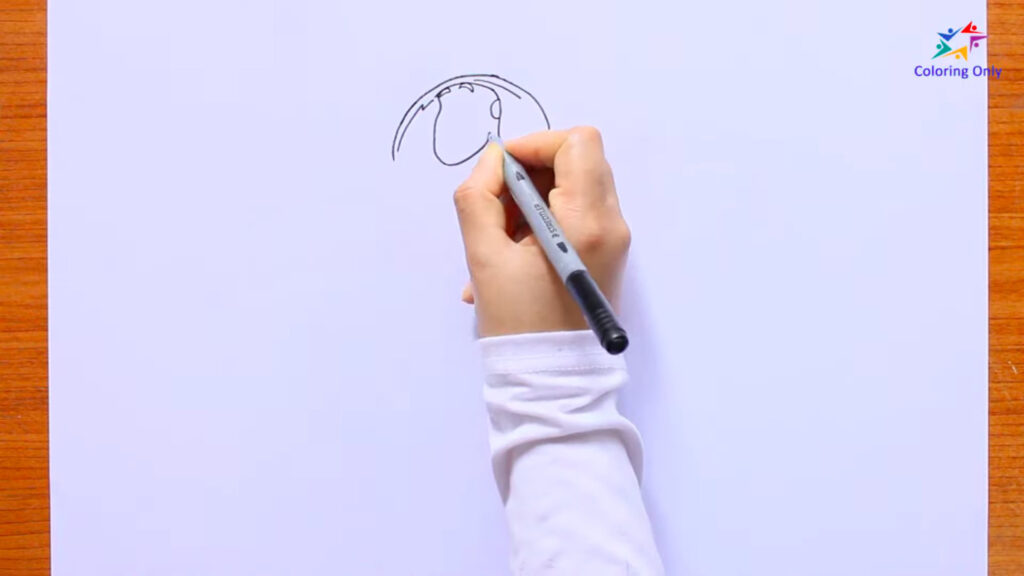
Start by drawing a circle to represent Buzz’s space suit helmet. Outline the shape of his face, and if you are using a pencil to sketch first, add intersecting lines inside the circle to guide you as you draw his face later on.
Step 2: Brows, Eyes, and Other Facial Features
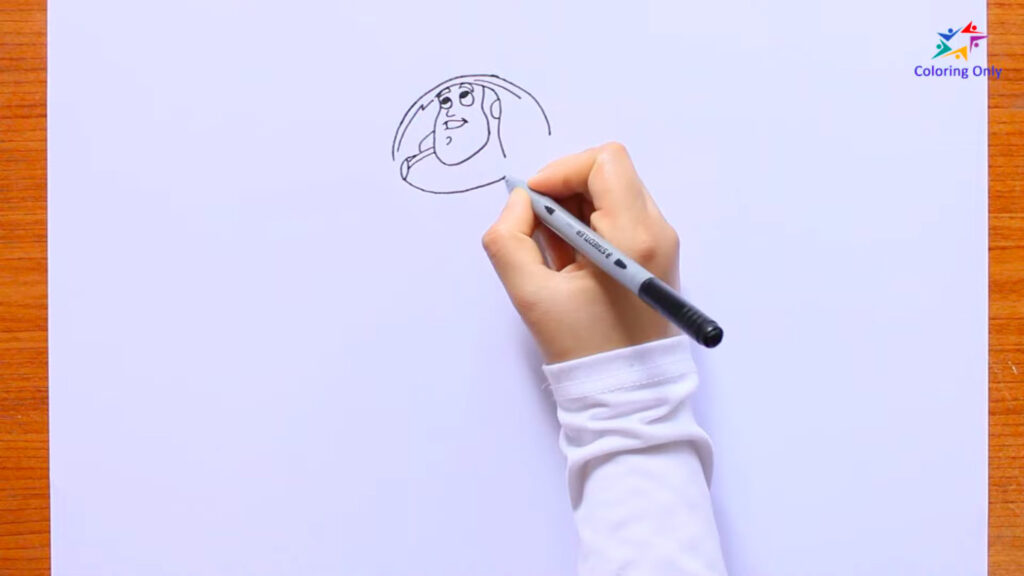
Next, sketch Buzz’s expressive eyebrows just above the intersecting lines. Draw oval-shaped eyes with small circles inside to represent the pupils. Complete his face by adding a nose, a smiling mouth, and a small chin cleft.
Step 3: Chest, Arms, and Hands

Extend two curved lines downwards from the head to form Buzz’s chest. Then, draw his arms extending upward. Add his hands at the ends of the arms, paying attention to the proportions and positioning of the fingers.
Step 4: Left Wing
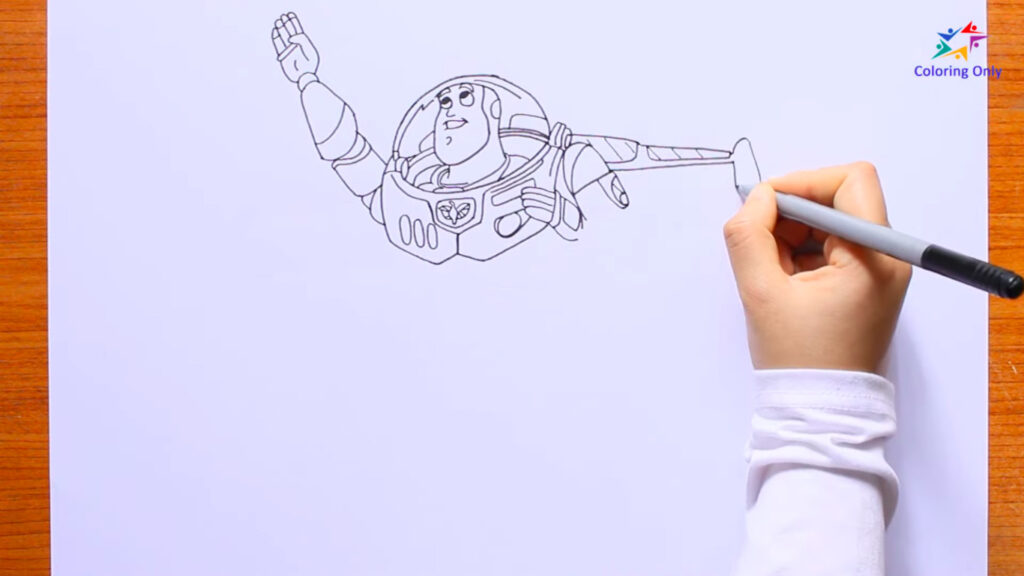
Now, let’s give Buzz the ability to fly by drawing his left wing. Starting from his back sketch a sleek and curved wing that extends diagonally.
Step 5: Legs and Feet
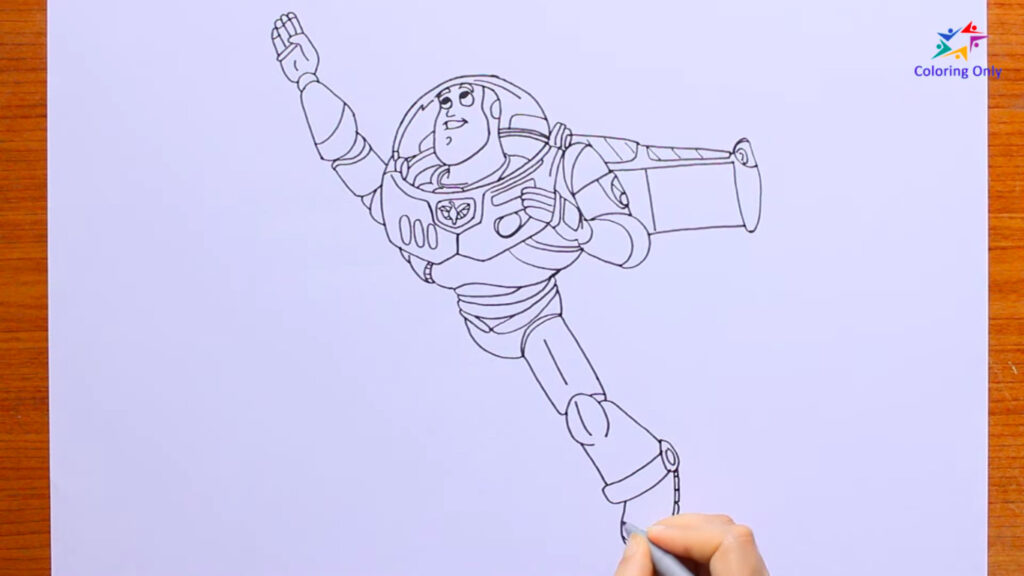
Bring Buzz’s legs to life by drawing them extending downward from the bottom of the chest. Ensure that his legs are slightly apart, as if he’s in mid-stride. Add the distinctive boots at the ends of his legs, including details such as the soles and straps.
Step 6: Right Wing with Wind Effect
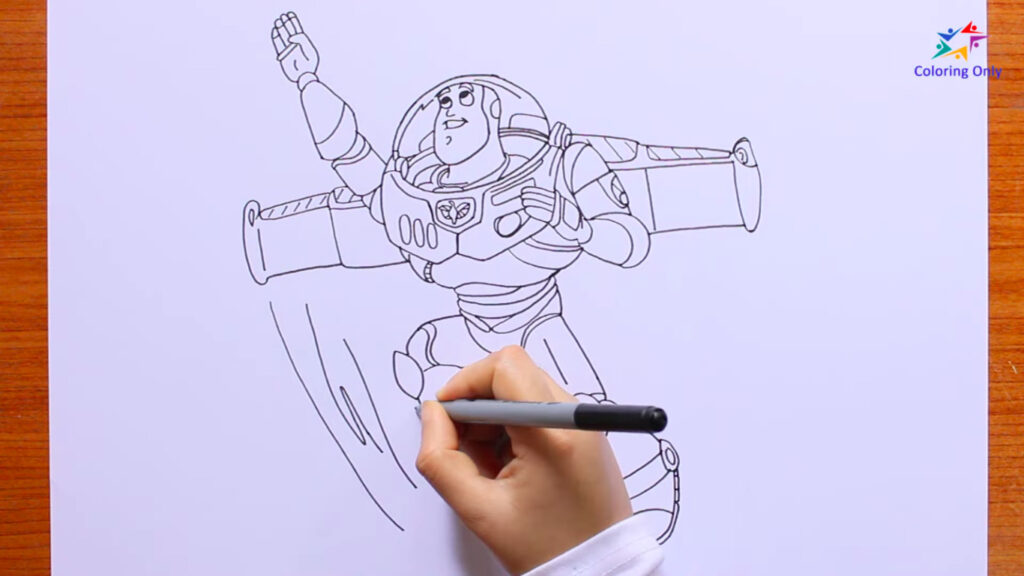
Mirror the left wing on the opposite side to create Buzz’s right wing. To enhance the sense of motion and flight, draw curved lines behind the wings, indicating a wind effect. This will add a dynamic element to your drawing.
Step 7: Color Your Artwork
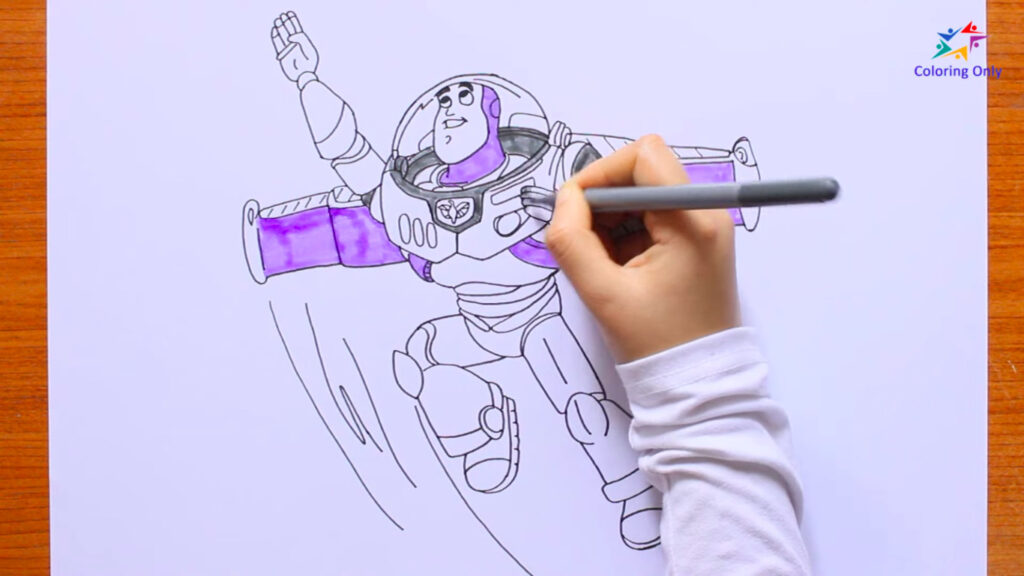
Now that you’ve completed the sketch, it’s time to add vibrant colors to your Buzz Lightyear artwork. Use your favorite coloring materials to bring his space ranger suit, face, and wings to life. Be creative as you choose the perfect shades to capture Buzz’s adventurous spirit.
Once you’re done coloring, step back and admire your masterpiece—a Buzz Lightyear drawing ready to take on intergalactic missions!
Remember that you can also use this video tutorial: How to Draw Buzz Lightyear Flying as a visual reference throughout the drawing process. Feel free to get the Buzz Lightyear Flying coloring page from our website. Then, you can join us in coloring it together! Download the printable coloring page here: Buzz Lightyear Coloring Page